


Outdoor photography offers endless opportunities to capture the beauty of the natural world. However, mastering it requires a combination of technical skills and a creative vision. But with the right outdoor photography tips for stunning wedding photos, you can seize the majestic landscapes and vibrant wildlife. Not only this, but you will be able to sell outdoor wedding photography services.
In this blog post, we are going to share valuable outdoor photography tips and techniques. These tips will help you elevate your game as a photographer. Check out YouTube Not Showing Comments or Related Videos – 2023 Easy Fixes
Creative Outdoor Photography Tips for Wedding Planning
Plan and Prepare
Research Locations: Scout potential outdoor locations beforehand to identify areas with interesting landscapes, unique features, and captivating backgrounds. Consider factors such as accessibility, lighting conditions, and the time of day that offers the best natural light.
Check Weather Conditions: Keep an eye on the weather forecast to plan your outdoor shoot accordingly. Different weather conditions can create unique atmospheres and lighting effects, so adapt your photography techniques accordingly.
Utilize Natural Light
Golden Hour Magic: Take advantage of the magical hour after sunrise and before sunset, known as the golden hour. The soft, warm light during this time enhances colors, adds depth, and creates a captivating mood. Plan your outdoor shoots around these times for optimal lighting conditions.
Avoid Harsh Midday Sun: Harsh sunlight during the midday can create harsh shadows and overexposed areas. If you have to shoot during this time, find shaded areas or use diffusers and reflectors to soften the light and create a more balanced exposure.
Cloudy Days: Cloudy or overcast days provide soft, diffused lighting that is perfect for capturing details and creating a moody atmosphere. Embrace the soft light and experiment with different compositions and subjects.
Understand Composition and Framing
Rule of Thirds: Apply the rule of thirds to create visually pleasing compositions. So it’s best to divide your frame into thirds horizontally and vertically. Then position your main subjects or points of interest along these lines or at their intersections. This is one of the most crucial outdoor photography tips that you must consider all the time.
Leading Lines: Utilize natural elements such as paths, rivers, or fences to lead the viewer’s eye into the frame and toward the main subject. Leading lines add depth and guide the viewer’s gaze through the image.
Foreground Interest: Incorporate elements in the foreground, such as flowers, rocks, or branches, to add depth and create a sense of scale and dimension in your outdoor shots.
Capture the Essence of Nature
Wildlife Photography: When photographing wildlife, be patient, observant, and respectful of their natural habitat. Use longer focal lengths and fast shutter speeds to capture sharp and detailed images.
Landscapes and Scenic Beauty: Capture the grandeur and beauty of landscapes by including elements that give a sense of scale, such as a person, tree, or building. Experiment with different angles, vantage points, and focal lengths to highlight the vastness and unique features of the location.
Consider ‘Depth of Field’
Aperture Control: Use a wide aperture (low f-number) to create a shallow depth of field, which blurs the background and directs attention to the main subject. This technique works particularly well for outdoor portraits and close-up shots.
Hyper-Focal Distance: When photographing landscapes, you must try using a smaller aperture (higher f-number). You should focus on a point one-third into the scene to achieve maximum depth of field. This will keep both the foreground and background in sharp focus. It’s one of the key outdoor photography tips that are recommended by professional photographers.
A Detailed Guide on How to Film a Wedding
Be Mindful of Exposure
Histogram: Use the histogram on your camera to ensure proper exposure. Aim for a well-balanced distribution of tones, avoiding overexposed highlights or underexposed shadows.
Bracketing: In challenging lighting situations, use exposure bracketing to capture a series of images with different exposures. This technique allows you to blend multiple exposures during post-processing to achieve a well-exposed final image.
Experiment and Embrace Creativity
Perspective and Angles: Explore different angles, perspectives, and vantage points to add interest and uniqueness to your outdoor photography. Get down low, climb up high, or shoot from unusual angles to capture a fresh perspective of your subject.
Silhouettes: Take advantage of stunning sunrises or sunsets to capture captivating silhouettes against colorful skies. Position your subject in front of the bright background and expose it to the sky to create striking and dramatic silhouettes.
Motion Blur: Experiment with long exposures to capture the motion of elements such as flowing water, moving clouds, or swaying trees. Use a tripod and slow shutter speed to create a sense of movement and add a dynamic element to your images.
Use Filters and Accessories
Polarizing Filter: A polarizing filter helps reduce glare and reflections, enhances color saturation, and deepens the blue skies. It is particularly useful when photographing landscapes and bodies of water.
Neutral Density Filter: Neutral density filters allow you to control the amount of light entering the camera, enabling you to use longer exposures even in bright conditions. This filter is ideal for creating silky smooth waterfalls or capturing motion blur in bright daylight.
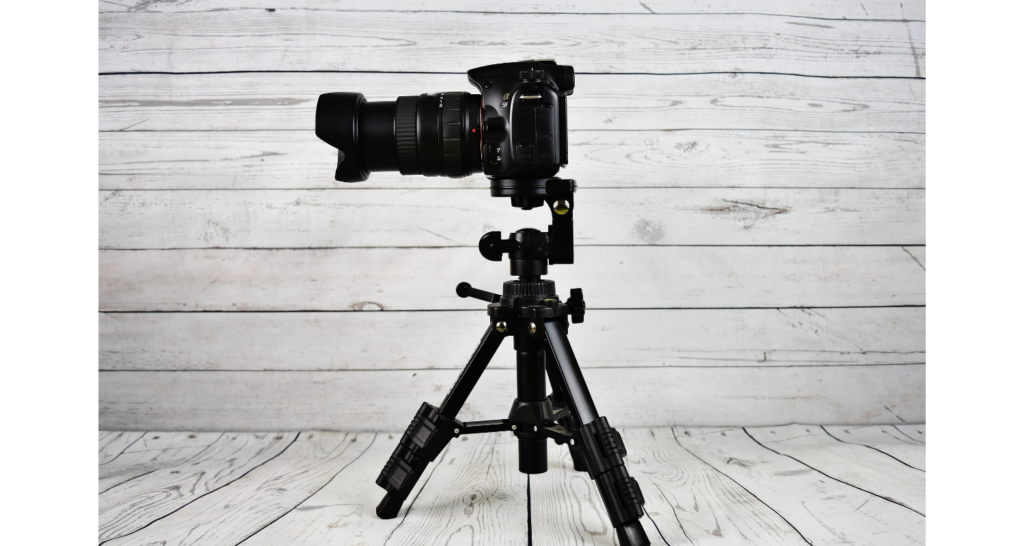
Tripod: A sturdy tripod is an essential tool for outdoor photography, especially when shooting in low light or using longer exposures. It helps maintain stability, ensures sharpness, and allows for precise composition.
In case you don’t have time, you can outsource editing to get quick outcomes. There are also AI tools like RAV.AI that you can use to further improve the quality.
Post-processing and Editing
RAW Format: Shoot in RAW format to capture maximum details and have more flexibility during post-processing. RAW files contain more data and allow for more significant adjustments without sacrificing image quality.
Enhance Colors: Use editing software to enhance and fine-tune colors, contrast, and saturation to make your outdoor images pop. However, exercise restraint and maintain a natural look without going overboard.
Crop and Straighten: Crop your images to improve composition and remove distractions. Straighten horizons and adjust perspectives if needed.
Practice and Explore
The more you practice outdoor photography, the more you will understand lighting, composition, and your camera’s capabilities. Take every opportunity to shoot in different outdoor environments and conditions to improve your skills. Since each season offers unique opportunities for outdoor photography, you must keep practicing.
Conclusion
Hopefully, you have learned something from these outdoor photography tips. This is a skill that requires technical knowledge, creative vision, and a deep appreciation for nature’s beauty. The same goes for nature, wildlife, and outdoor wedding photography. Regular practice and exploration are key to developing your own unique style and capturing moments. So grab your camera, venture into the wilderness, and let your creativity unfold. Check out How to Save Videos from Facebook to your Phone? It’s Easier Than You Think!