We can safely state that drones have changed how we shoot stunning scenes by providing excellent and active angles that could not have been shot previously. From capturing the scenes for commercial production, a self-produced video blog, or property filming, aerial drone shots are now part of mainstream content production. In general, a successful drone video has to be well throughout, effectively remixed, and well-organized in terms of workflow.
Pre-Production Is Key
Before it begins, one must be highly organized and well-prepared for a drone video shooting endeavor. This is why a good pre-production plan can prevent unnecessary shooting of some scenes and help you get the proper footage. Consider these critical elements during the planning phase:
Location Scouting
Drone filming is all about perspective, hence identifying the right location to favor your shooting. Area selection lets you decide where to take the shots, minimizing the time spent during shooting. Use Google Earth or the applications for drone flights to evaluate the terrain in terms of possible problematic situations, shooting positions, and weather conditions.
Shot List And Storyboarding
To make your editing process more accessible, please prepare a shot list or a storyboard before you begin shooting a scene. A shot list defines the general shooting plan, whether a wide shot, a close-up, an amid shot, or an aerial shot.
Storyboarding further enables you to understand how one shot links well to another. This step is essential for making a drone experience linear so there is a straightforward story while rejecting additional footage that may not be used during the climax.
Permissions And Safety
Always read your region’s legal and safety norms before operating your drone. Procure necessary permissions, if needed, while you should generally fly within set height and distance parameters. Knowledge of these rules will prevent disruptions during the shooting and help keep this footage as safe and legal as possible.
Drone Settings And Techniques To Capture the Footage
Once you plan for a shoot, it’s time to take flight. Although anyone can fly a drone, getting high-quality footage like the kind you would find in Hollywood movies is relatively easy. Still, it does require some skill and understanding of the technical aspects involved.
Camera Settings
When filming with a drone, the main camera settings are critical in what kind of output you will get. Many drones, such as the DJI Phantom or Mavic series, come down to modem control over ISO, shutter speed, white balance, and frame rate. Here are some essential settings to consider:
ISO
Restrict the ISO’s value as much as possible to minimize the noise in the video when shooting in low light. Always try to keep the exposure right with the aperture and shutter speed.
White Balance
By doing this, where the automatic white balance shifts colors positively while in flight, it can be easily adjusted manually.
Frame Rate
A frame rate should be selected depending on the desired look. For a smooth, cinematic video, you should aim at shooting 24 or 30 frames per second. If they are likely to include slow motioning, then one uses higher frame rate scenarios such as 60 or 120.
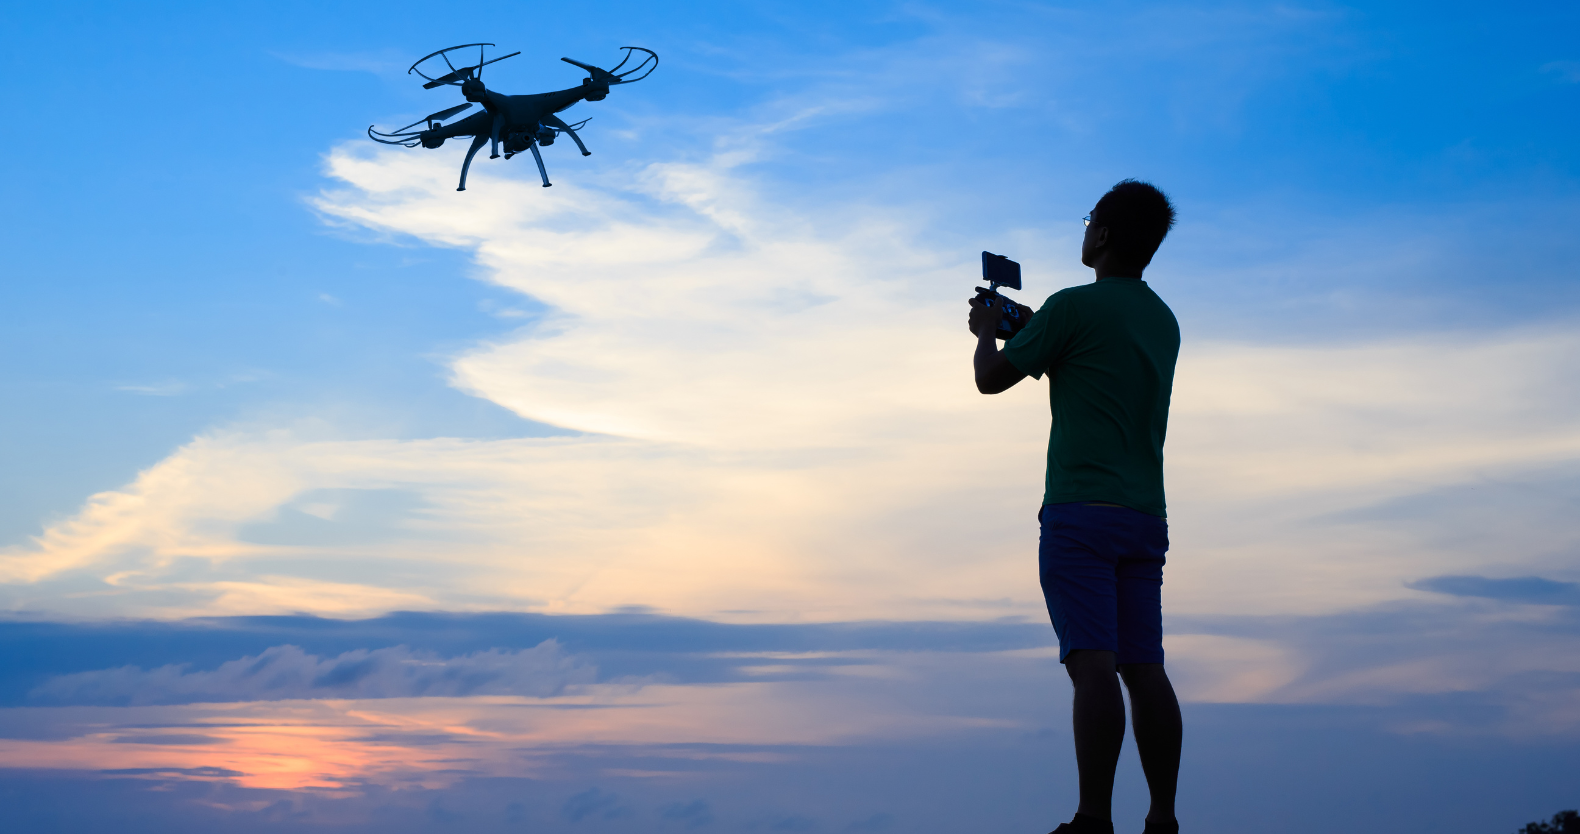
Flight Techniques
Drones’ flying procedures that you employ affect the video quality. These are smooth and controlled movements like what you see in a cinematographic. Here are a few flight techniques to consider:
Flying In Circles
Rotate the camera around an object slowly to make dynamic frames throughout the scene to take the shot from different angles.
Dolly In/Out
Moving the drone straight towards or further away from the subject brings depth and drama into the flying.
Gimbal Control
Some great ideas for gimbal usage include ensuring the camera is stable when flying fast. In addition to the gimbal movements, refined movements make the drone shots look more professional.
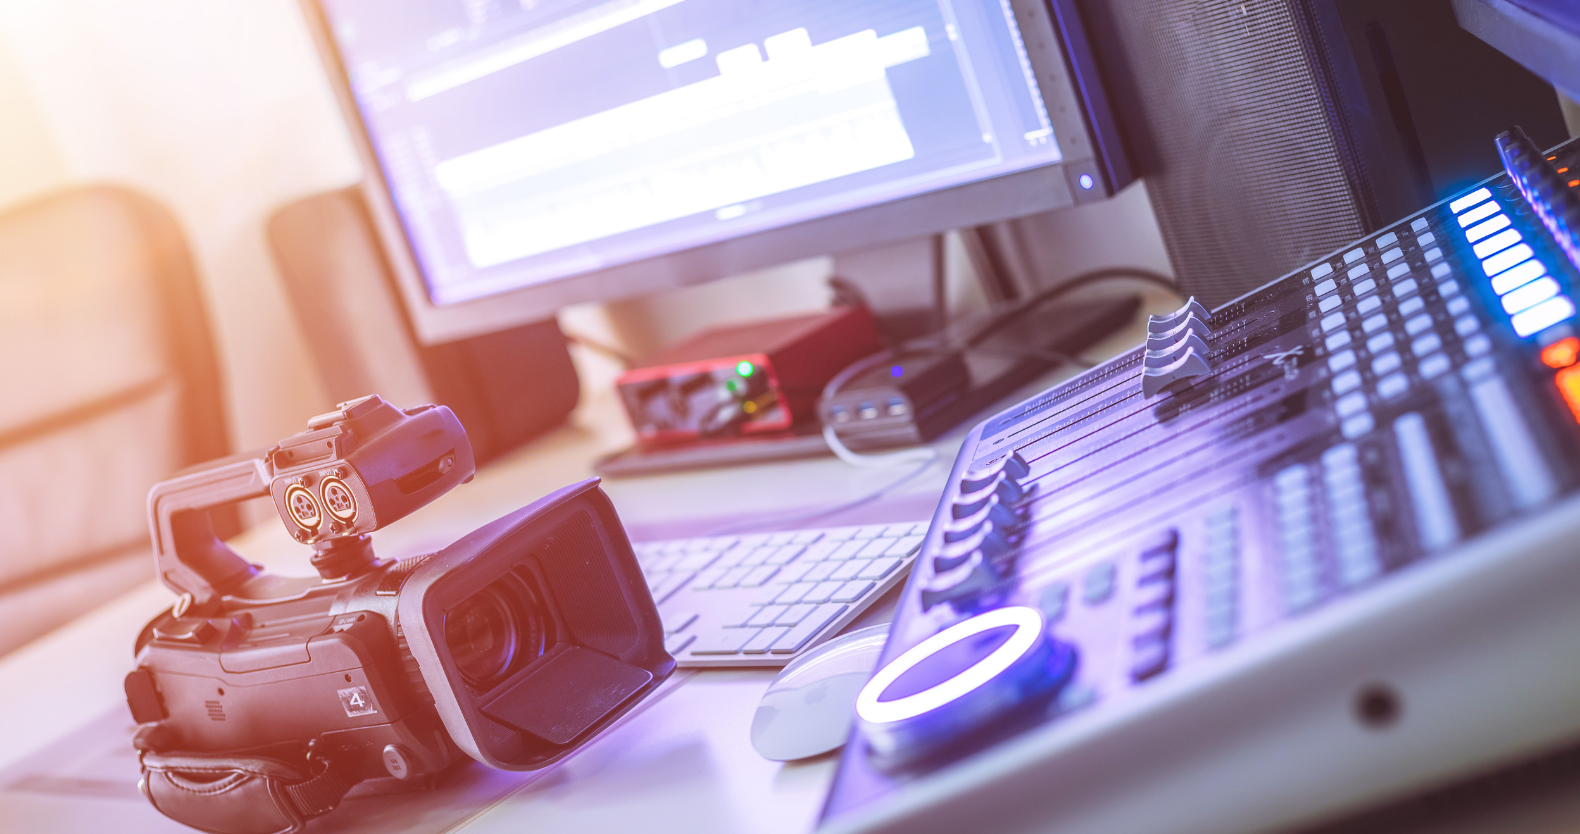
Importing And Labeling To Organize Footage
Once you are done shooting your drone video, the most important thing remaining is to sort it out and proceed with the post-production. A sound organization system pays off at the editing stage and may also be used to track the best shots.
Importing Files
Once you’ve transferred your footage to your editing software, back up your files in multiple places; portable hard drives or backups on the cloud can be handy if something goes south with yours. Collecting the material according to scenes, locations, or types of shooting with which you will work in the future will be helpful.
Labeling And Logging
Labeling your clips as they are imported into one’s favorite editing software is wise. For each shot, it is recommended to include where the shot was taken, the shot type (aerial wide shot, fly-through), the time of the shot, and any other factors that can be useful to you in the editing process. They can help save the hours of trying to watch over hours worth of footage during long-scale shooting.
Editing The Footage
Now comes the fun part: the editing. This task combines the impressive footage you shot with a drone to create a single, watchable, and exciting video. Here’s how to approach the editing process:
Cutting the Raw Footage
Trimming the raw material is the first step when editing the material captured through a drone. Afterward, you want to review your video material and choose the best clips from your shot list.
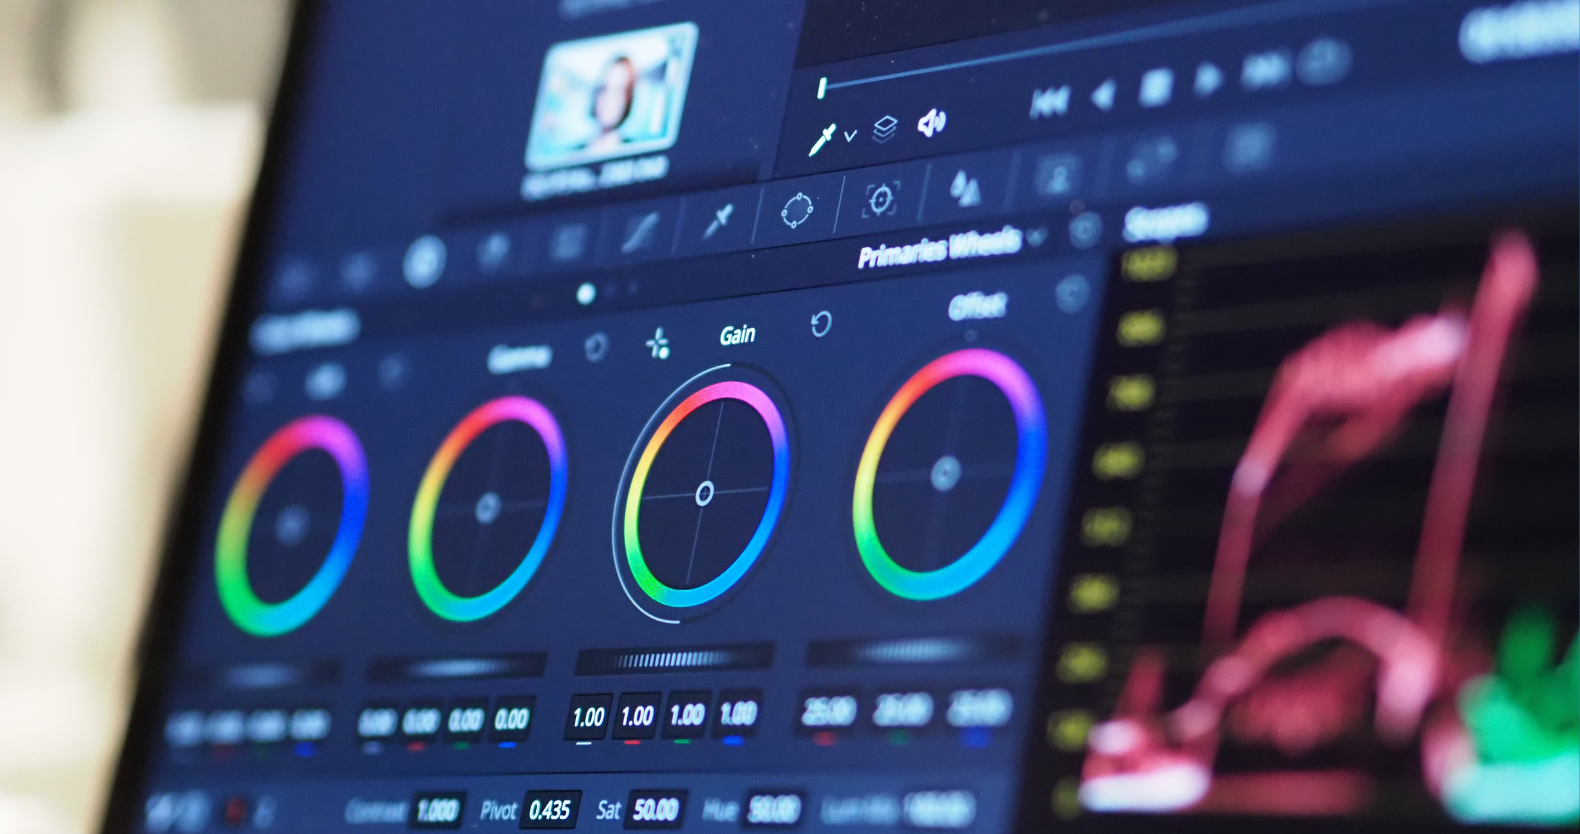
Color Grading
Drone footage usually turns out great even when you do not have to color grade them, but there is always room for improvement. Color grading can also be used to tone the overall colors of the scene, as well as its contrast and brightness, to ensure that your footage looks professional.
Almost any modern software that helps edit a video, whether Adobe Premiere Pro or Final Cut Pro X, includes color grading features, which let you adjust the exposure, shadows, and highlights and even apply LUTs for a particular color tone.
Sound Design And Music
Interestingly, audio is equally significant as video in terms of making a drone video entertaining. Record background sounds, for example, wind sounds, bird calls, and the buzz of the drone, to enhance the voices on the scene. Music selection is also rather important. The music should also be appropriate for the type of video; it’s an energetic tune for a nature video or an aggressive beat for a stunt scene.
Exporting And Sharing
And that’s it. When you finish editing, it is time to put the finishing touches on it. Here are some essential steps to ensure your drone video is polished and ready for sharing:
Exporting
When you are ready to upload your final video, select the correct settings for that specific platform. When sharing your video on YouTube or Vimeo, you should use 4K resolution with a high bit rate to save the quality of the video.
If you are editing for social media platforms, ensure different versions cater to other formats, such as Instagram or TikTok, where most use vertical formats or square crops.
Compression
At other times, the drone video is too big, and it has to be compressed while trying to keep the loss of quality to the bare minimum. In the software, you can utilize stuff like the HandBrake or the exporting preset whenever you need to compress a file while keeping the quality good.
Sharing
Last but not least, you need to share your drone video with your audience! Caring for how it looks is essential if your video is for a client, uploaded to YouTube, or shared through social media. As feedback is a constructive way of making improvements for future projects, make sure you moderate the feedback section.
Conclusion
Shooting the perfect drone video requires a good plan, organization, and sound editing. Following these steps, you’ll convert your raw drone footage into the final exciting story without struggling. Whether you are a business person capturing aerials for commercial use or a leisurely enthusiast recording your cherished moments, it is critical for the videos you record with drones to have a rigorous editing phase, as the following best practices illustrate.