Table Of Contents
*Youtube Shorts – Editing Tips, Tools, Error Fixes and More!
*What are YouTube Shorts?
*How to Make Shorts on YouTube?
*How to Upload Shorts on YouTube?
*Ideal Length of YouTube Shorts
*Can You Make Money From YouTube Shorts?
*Best YouTube Shorts Video Editor
*RAV.AI
*Be Creative
*InShot
*CapCut
*Tasty Edits
*Other Famous YouTube Shorts Video Editing Tools
*Filmora
*Shotcut
* Movavi
* VSDC
*How to Make a YouTube Video Viral?
1. Create High-Quality Content
2. Know Your Audience
3. Craft an Engaging Title and Thumbnail
4. Keep It Short and Sweet
5. Optimize for Search
6. Leverage Social Media
7. Encourage Engagement
8. Collaborate with Other Creators
*How Long Does it Take to Edit A Video?
*How Long Does It Take to Edit a Movie or Video? Factors That Matter
*How Long Does It Take to Edit A 5-Minute YouTube Video?
*Some Tips to Edit YouTube Videos in A Short Time
*Is It Hard to Edit YouTube Videos?
* Why Editing Videos Take Time?
* “YouTube an error occurred” Some Possible Causes:
* “YouTube an Error Occurred” – Best Possible Fixes
*Final Thoughts!
YouTube Shorts, launched in September 2020, quickly became a powerful tool for content creators, amassing over 6.5 billion daily views worldwide. As of 2024, this figure has only grown, with YouTube Shorts playing a significant role in how users engage with video content.
Despite its popularity, many are still unsure about the basics—how long can YouTube Shorts be? What’s the best length for maximizing engagement in 2024? This article will guide you through these questions and help you make the most of this feature.
What are YouTube Shorts?
YouTube Shorts are short, vertical videos created on mobile devices and uploaded directly to your YouTube channel through the app. With YouTube’s built-in tools, you can easily record, edit, add music, and text, and even manage the clip speed, all within the app. These videos can be as brief as 15 seconds or as long as 60 seconds.
Once uploaded, your Shorts remain permanently on your channel, available for viewers to watch, like, comment, share, or save for later. Unlike some other platforms where videos redirect after they end, YouTube Shorts allow viewers to replay your content or move to another video, giving you more control over how your audience interacts with your content.
How to Make Shorts on YouTube?
Making YouTube shorts isn’t a big deal if you have some prior knowledge about vertical videos on other platforms like TikTok and Instagram Stories and Reels. There isn’t a special YouTube shorts app; just download the official YouTube app to start.
Here are the basic details you should keep in mind while making a YouTube short:
YouTube shorts video size: 1920 x 1080 pixels in resolution
YouTube shorts ratio: Standard vertical ratio, i.e., 9:16
YouTube Shorts duration: 15 to 60 seconds
Follow the steps below to make YouTube shorts.
- Download the YouTube app on your device and log in to your account. Click the + symbol at the bottom of the screen from the homepage.
- Select Create a Short in the pop-up with a camera symbol next to it.
- If you use this feature for the first time, your device will request permission to access the microphone and camera.
- On approval, you will be redirected to the recording page for YouTube Shorts.
- The standard YouTube shorts time limit is 15 seconds. You may set it to 60 seconds by clicking on the digit “15” above the recording icon.
- Tap the speedometer icon to increase or decrease the speed of the recording.
- You can also fix the duration for the camera to begin without pressing the Timer button, located directly below speed.
- Apply filters to your YouTube shorts to make them more appealing. This function isn’t available on specific Android devices.
- Tap the recording button to start once you’re ready, tap the button again to end, and press again to record the next portion of the same clip.
- Add music through the sound icon at the top of the screen.
- YouTube shorts are almost ready to upload and post on your channel.
How to Upload Shorts on YouTube?
Well, if you have completed all the above steps, then follow the below steps on how to upload YouTube shorts, and how to post your YouTube shorts:
- When you’re done with making your YouTube shorts save them by clicking the checkbox.
- Lastly, finalize your short by rechecking the music track, text, and filters.
- When you’re done editing, hit Next in the upper right-hand corner.
- Add all the necessary details and choose if you require the video to be private, confidential, or public.
- Decide if the video needs an age limit and is not unsuitable for kids.
- To post the video, select Upload Short.
If you want to use your PC, search for how to make YouTube shorts on a PC. Or browse how to upload shorts on YouTube from a PC, then follow the same procedure as above.

Ideal Length of YouTube Shorts
The ideal length for a YouTube Short largely depends on the type of content you’re creating and your audience’s preferences. For instance, quick, engaging content like tips, tricks, or announcements might work best at 15 to 30 seconds, keeping viewers hooked without dragging on. On the other hand, more detailed or instructional content could benefit from the full 60-second limit, providing enough time to convey valuable information while still being concise.
Another scenario is content that teases longer videos or promotes other content on your channel. Here, a 30 to 45-second Short can give viewers just enough to spark their interest, leading them to explore more of your videos. The key is to balance brevity with substance, ensuring your audience remains engaged throughout the entire video.
Can You Make Money From YouTube Shorts?
Do you get paid for YouTube shorts? This is a common query that comes to the mind of every content creator. The straight answer is Yes, YouTube shorts do make money. But, it will not be simple, and you will have to work hard to achieve your goal.
There are different ways to get paid for YouTube shorts, such as brand promotion and selling the products through affiliate marketing. You can add a product link in your YouTube short description for the viewer to access it.
Another way is through the YouTube shorts fund, a recent YouTube shorts monetization plan introduced by YouTube. YouTube has established a $100 million fund to reward and encourage content creators.
Those who make exceptional, unique, and engaging YouTube shorts that thrill the YouTube community have the chance to get this reward.
But there are specific YouTube short requirements that you need to fulfill to make money this way.
You can check from the list if you meet the criteria and apply for it. Your video should be extraordinary as there is a lot of competition, and you need good views to get paid from funds. You may be thinking about how many views on YouTube shorts are needed to get paid; the answer is Millions.
Most people believe a million views are enough, and ask how much YouTube shorts pay for 1 million views. This is when situations become discouraging; there isn’t much money to be made from YouTube shorts. A content creator KingProbeherbs earned $300 from 5 million views last year.
Now you know you need a substantial number of views of your shorts if you want to earn money. The short video should be perfect for standing out in this competitive crowd to get millions of views.

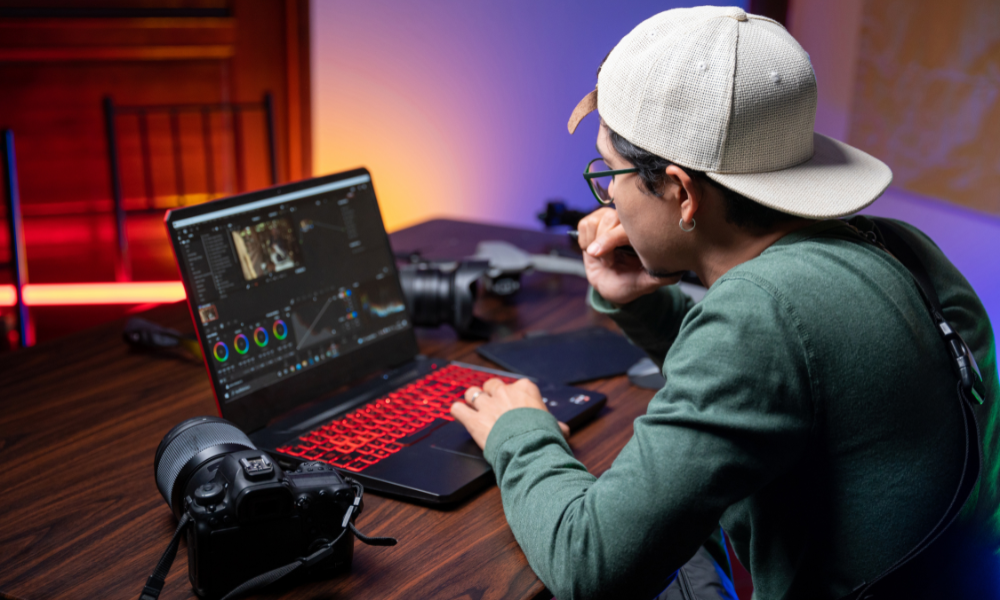
Best YouTube Shorts Video Editor
Editing is crucial to making your video perfect, and selecting an editor that satisfies all your requirements is more critical. Here, I have mentioned the best editors to make your work easy:
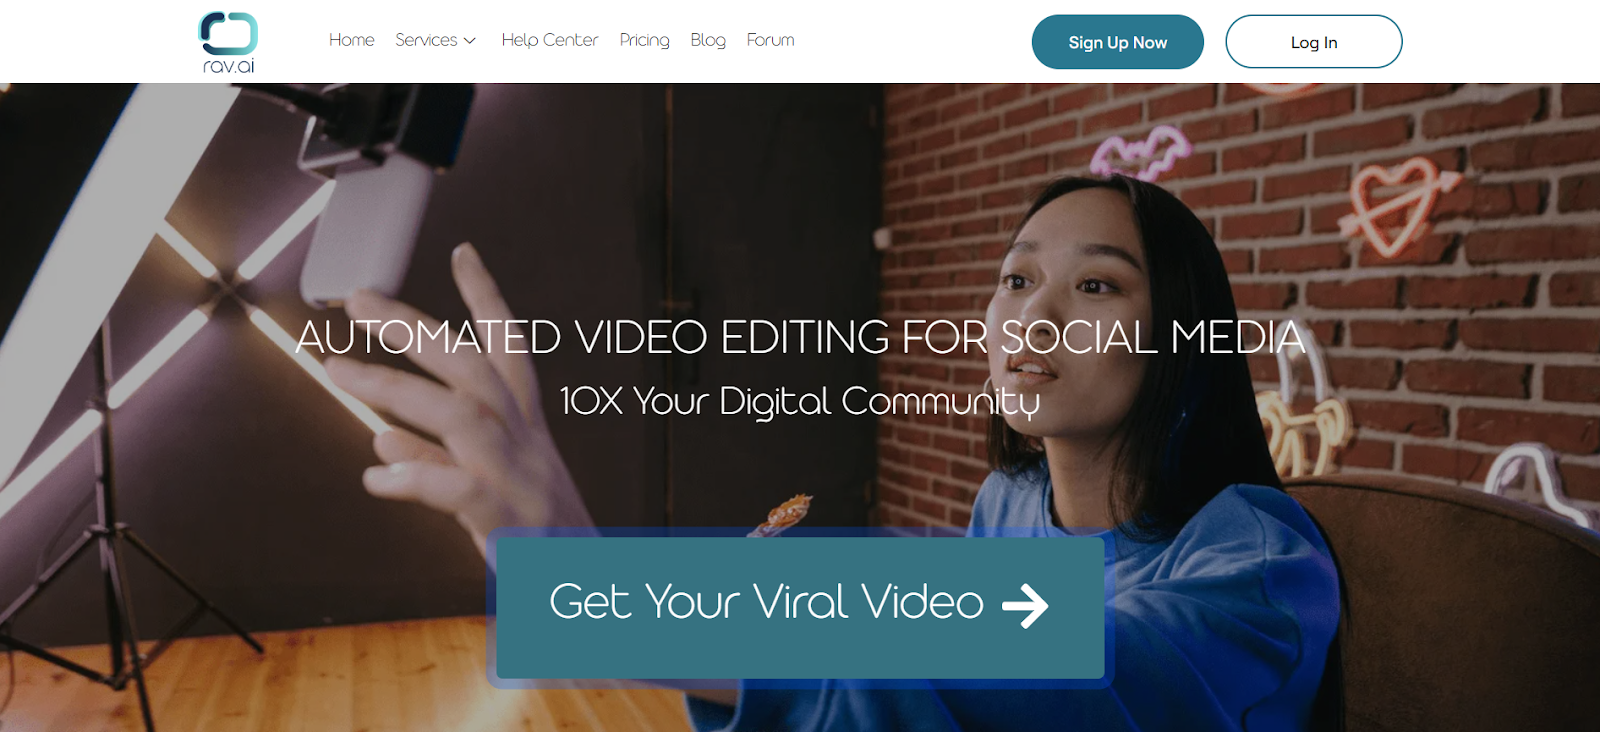
RAV.AI
Innovative video editing platforms like Rav.ai, make it simple to produce excellent videos. You may use various effects to improve your videos’ quality. Users can edit their videos using another clip as an inspiration template, which is one of the best features of Rav.ai.
If you are looking for an AI-based video editing platform to automate your video editing and publishing, Rav.ai should be your first choice.
You can also enroll in the coaching course offered by Rav.ai to learn and manage your digital community. As you know, getting views on YouTube shorts is essential to get paid; this course will also teach you how to get views on YouTube shorts.
Be Creative
Is another video editing platform where professionals will edit your video at a fixed monthly fee. They have a skilled team of editors and internet marketers who will devote their time to your project.
Send your video and editing directions, and the team will edit your video according to your demands. They have a library of music, effects, sound, video, graphics, etc., to edit your video more smoothly. If you are not satisfied, you can ask for revisions as well.
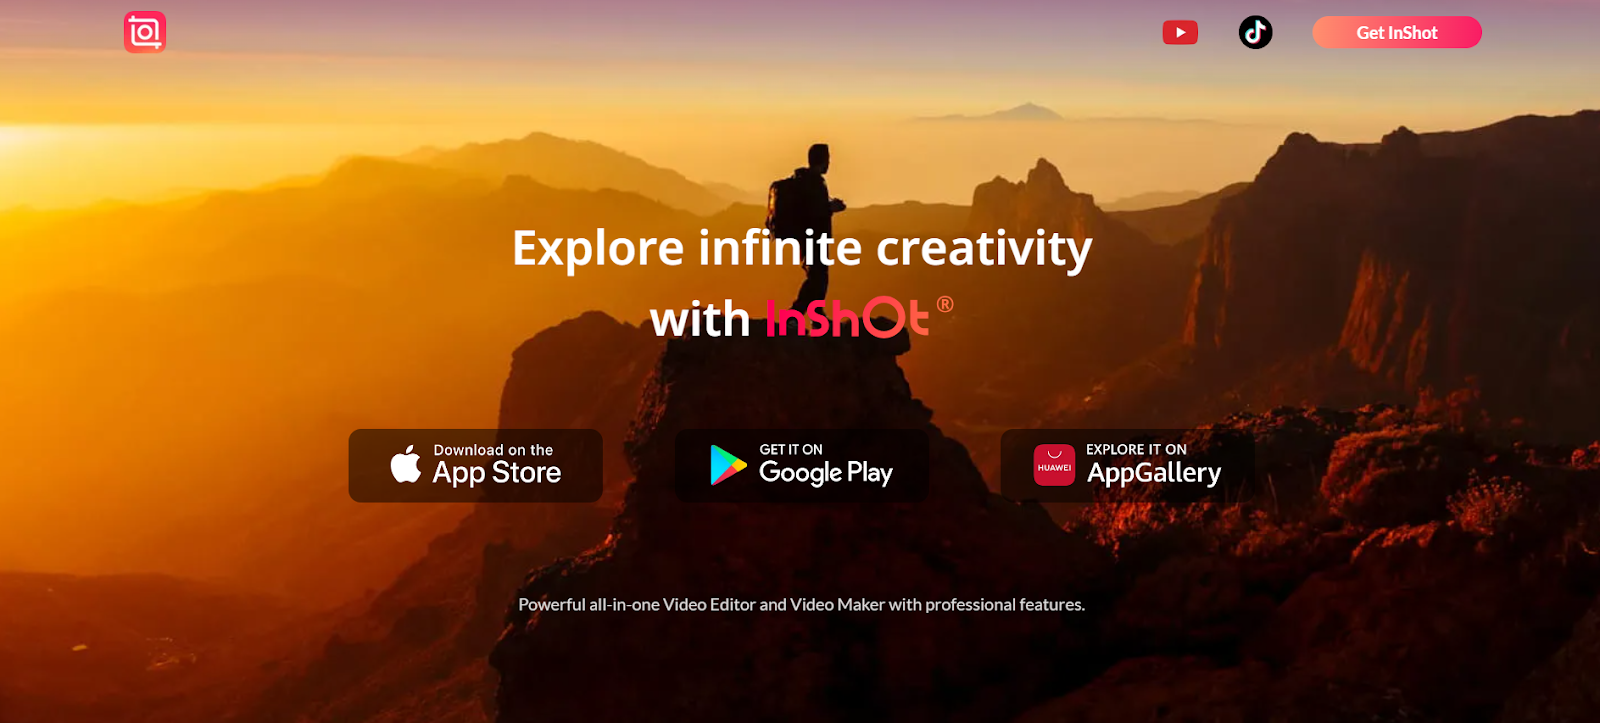
InShot
InShot is a popular mobile video editor that stands out for its user-friendly interface and a wide range of features tailored for social media content, including YouTube Shorts. The app offers essential editing tools like trimming, splitting, and merging videos, along with more advanced features such as speed adjustments, background blurring, and transitions.
InShot also includes a rich library of music tracks, sound effects, and fonts, allowing creators to customize their Shorts to fit their brand. The app’s easy-to-use timeline makes it simple to layer videos, text, and stickers, giving your content a polished look.
InShot is available for both iOS and Android, and it supports high-resolution exports, ensuring your Shorts look professional and crisp when uploaded to YouTube. Its affordability and feature set make it a top choice for creators looking to enhance their YouTube Shorts.
CapCut
CapCut, developed by ByteDance (the creators of TikTok), is a powerful video editor designed with simplicity and functionality in mind, making it ideal for creating YouTube Shorts. The app offers a range of features, including trimming, splitting, speed adjustments, and a variety of filters and effects that can make your videos stand out.
One of CapCut’s standout features is its extensive music library, which includes a variety of tracks and sound effects that you can easily add to your Shorts. The app also supports multi-layer editing, allowing you to overlay text, stickers, and images seamlessly. CapCut’s user-friendly interface and no-cost access make it a popular choice for beginners and experienced creators alike. The app also supports direct sharing to YouTube, ensuring a smooth process from editing to publishing your Shorts.

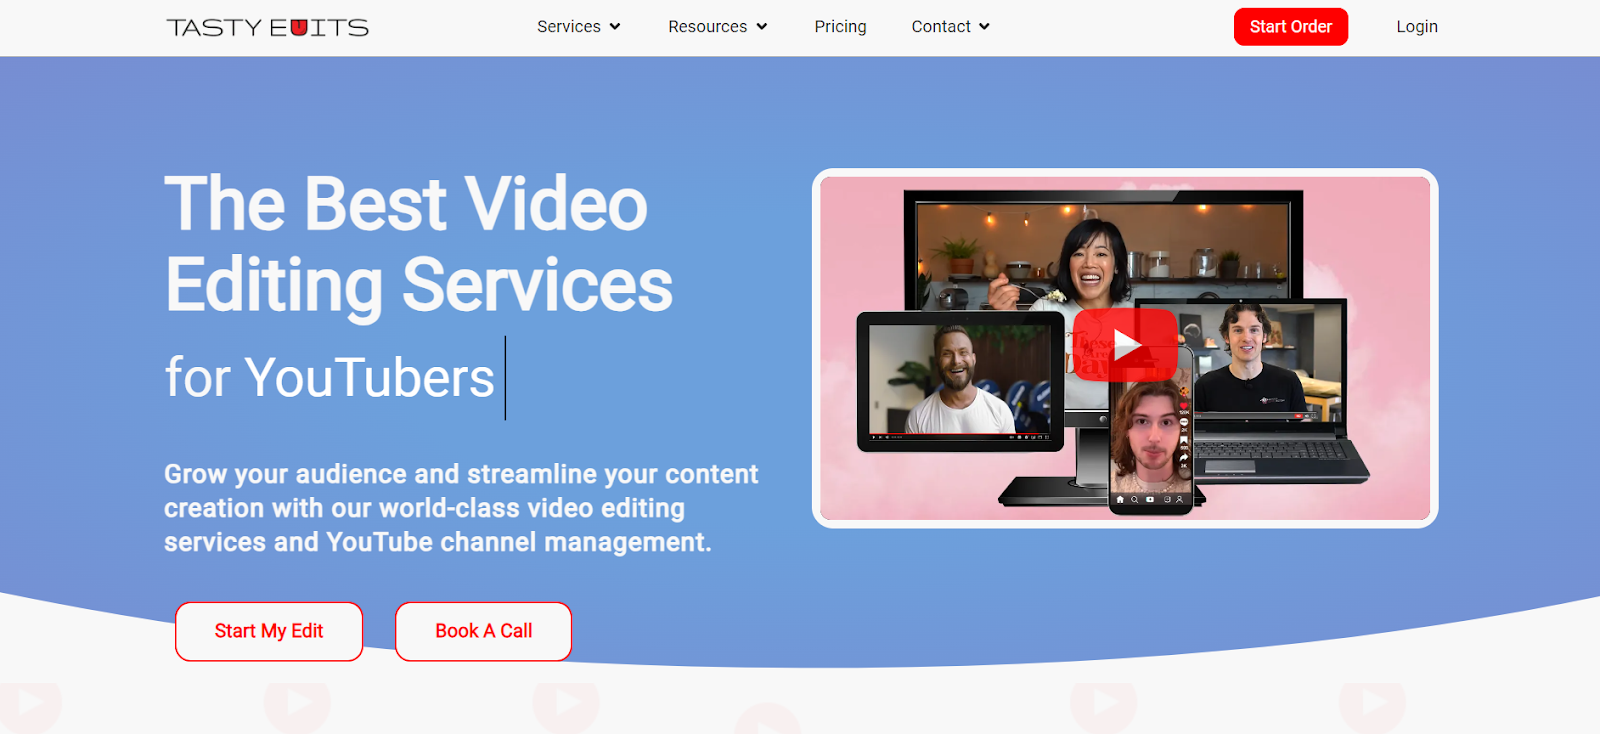
Tasty Edits
Tasty Edits is another good platform where you can find professional editors to edit YouTube shorts and videos for many other platforms. The editor uses professional video editing tools like Premiere Pro and After Effects. They charge you per video rate, and You can hire the same editor for all your videos.
Other Famous YouTube Shorts Video Editing Tools
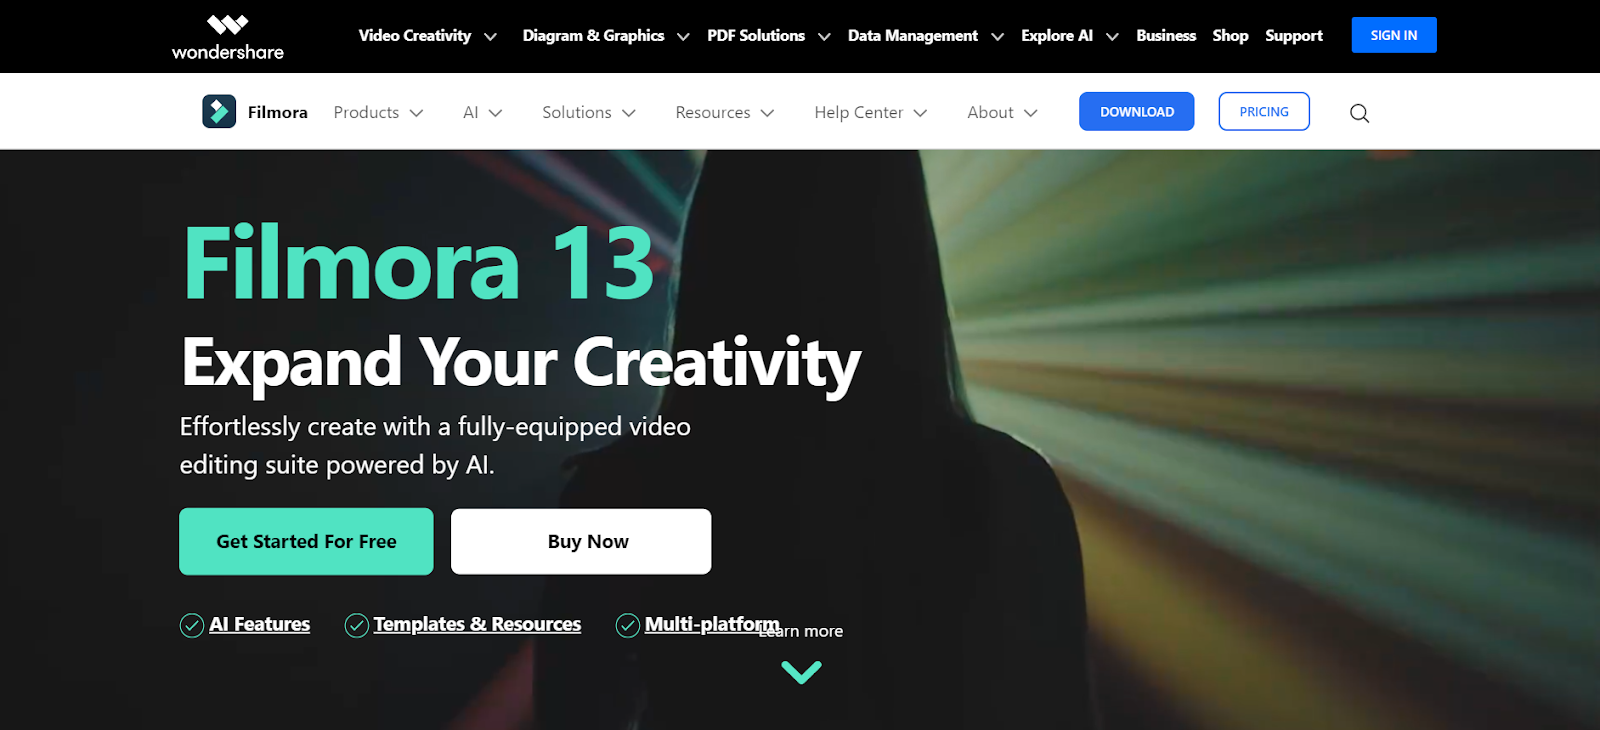
Filmora
One of the finest video editors for YouTube shorts is Filmora, which has over 100 transitions, 12 effect types, a green screen tool, and picture-in-picture effects that you can scale directly from the preview window.
Offering more incredible fine-tuning for newbies goes one step further than competing programs.
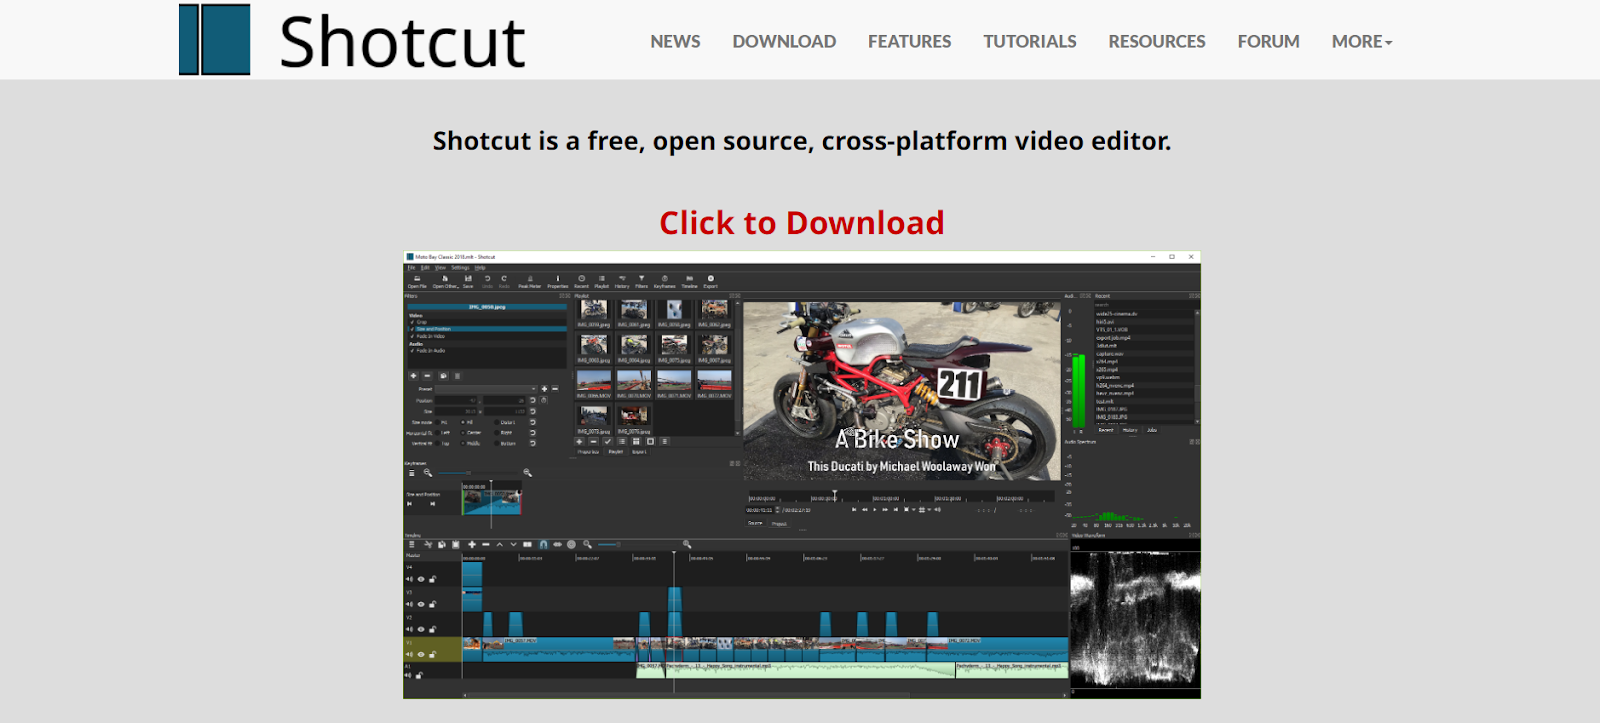
Shortcut
Shotcut is the most effective free video editing program and is a fantastic choice for someone just starting with video editing. However, it isn’t as technical as some other programs with far more effects and much better color grading. But this is the best choice if you’re looking for accessible, free, and cross-platform video editing software.
Movavi
The most appealing aspect of Movavi is its modern, user-friendly design, which makes video editing fun. The interface design has a broad collection of functions and is attractive but not simplistic. It enables you to make transitions, cut and trim clips, and record voice-overs. The problem is that many of its sophisticated features are locked, requiring you to subscribe to one of its costly plans to use them.

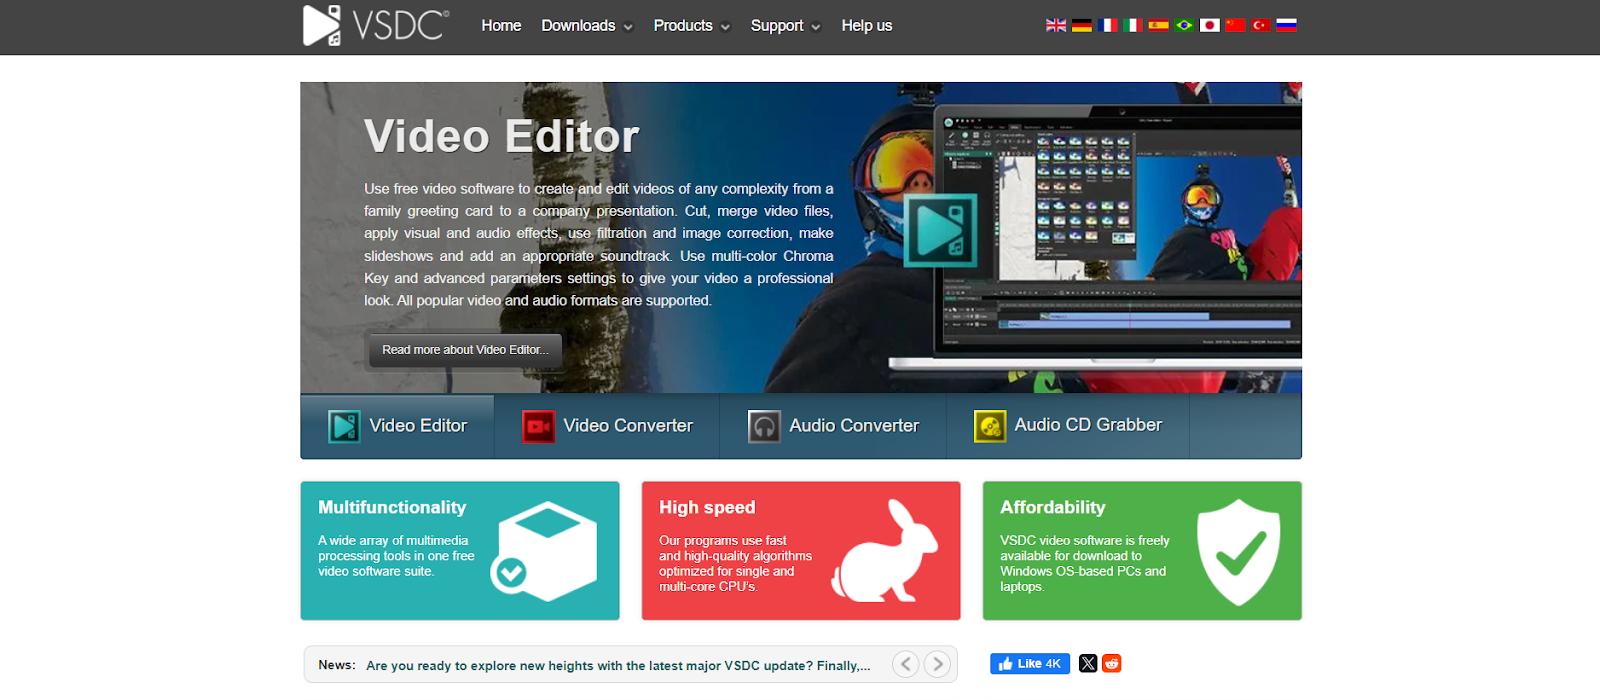
VSDC
VSDC is a non-linear video editor featuring a timeline for combining and adding images and video files. It includes all the modern features you would want for a perfect video. Such as filters, precise background removal, color correction curves, and other effects.
How to Make a YouTube Video Viral?
Viral videos are an essential tool for exposure in today’s digital age. They are videos that get famous on the internet, on platforms like Facebook, Instagram, and YouTube, and get a lot of views in a short amount of time.
Viral videos create strong emotions and make us feel like sharing them with our friends and family.
While there is no single way to create a viral video, there are some common ways, like entertainment, humor, or emotional impact. Viral videos can help content creators and marketers to increase their visibility, reach a wider audience, and generate engagement.
1. Create High-Quality Content
The foundation of any viral video is high-quality content. To capture the audience’s attention, your video must be well-produced with clear visuals and sound. Invest time in planning your video, focusing on delivering a compelling story or valuable information.
Whether you’re using professional equipment or just a smartphone, ensure the lighting is good, the audio is clear, and the editing is smooth.
A video that looks and sounds professional is more likely to be shared, leading to higher chances of going viral. Also, aim for content that resonates with your target audience, making them more likely to engage with and share your video. Quality content shows viewers that you care about what you’re creating, which can help build trust and encourage them to spread the word.
2. Know Your Audience
Understanding your audience is crucial for creating content that resonates and has the potential to go viral. Start by researching who your viewers are—what they like, their age group, and their interests. This knowledge allows you to tailor your content to their preferences.
For example, if your audience is primarily young adults interested in gaming, creating videos that align with these interests will likely attract more views.
Engaging directly with your audience through comments and social media can also provide insights into what they enjoy. Knowing your audience helps you craft a message that speaks directly to them, making them more likely to watch, engage with, and share your video, thus increasing its chances of going viral.
3. Craft an Engaging Title and Thumbnail
Your video’s title and thumbnail are the first things viewers see, and they play a significant role in attracting clicks. A captivating title should be clear, concise, and intriguing, offering a glimpse of what the video is about while sparking curiosity. Avoid clickbait, but don’t be afraid to use strong, action-oriented words that encourage viewers to watch.
The thumbnail should be eye-catching, visually appealing, and relevant to the content. Use bright colors, bold text, or interesting images to draw attention. A well-designed thumbnail can significantly increase your video’s click-through rate, which is crucial for going viral. Together, a compelling title and thumbnail can entice more viewers, leading to higher engagement and sharing.

4. Keep It Short and Sweet
In today’s fast-paced world, viewers often prefer shorter videos that get to the point quickly. Keeping your content concise and focused increases the likelihood that viewers will watch the entire video and share it with others.
Aim for a video length that’s long enough to cover your topic thoroughly but short enough to maintain the audience’s attention. Generally, videos that are between two to five minutes perform well, especially for viral content. If your video is longer, ensure it’s engaging throughout, with no slow or irrelevant parts. Short, impactful videos are more likely to be watched in full, which can lead to better engagement metrics, such as likes, shares, and comments, all of which contribute to a video going viral.
5. Optimize for Search
To make your video discoverable, optimizing it for search engines is essential. Use relevant keywords in your title, description, and tags to help your video appear in search results. Research popular keywords related to your content and incorporate them naturally into your metadata. Further, write a detailed and keyword-rich video description that accurately summarizes your content.
This not only helps with search rankings but also informs viewers about what they can expect. Creating an engaging and informative description can increase the likelihood of your video being found by new viewers. By optimizing your video for search, you increase its visibility, making it easier for people to discover and share, which is key to going viral.
6. Leverage Social Media
Social media platforms are powerful tools for promoting your video and increasing its chances of going viral. Share your video across multiple social media channels, such as Facebook, Twitter, Instagram, and TikTok, to reach a broader audience. Use relevant hashtags and keywords to enhance discoverability. Engage with your audience by responding to comments and encouraging them to share the video.
You can also join online communities or groups related to your content and share your video there. Collaborating with influencers or popular accounts in your niche can also boost visibility. The more your video is shared and engaged with on social media, the higher the chances it will gain momentum and go viral.

7. Encourage Engagement
Encouraging viewers to engage with your video can significantly boost its chances of going viral. Ask your audience to like, comment, and share your video, as these interactions increase its visibility on YouTube and other platforms. You can include a call-to-action at the end of your video or in the video description, prompting viewers to subscribe, leave a comment, or share with their friends.
Engaging with your audience in the comments section by responding to their feedback can also foster a community around your content, encouraging more interaction. The more engagement your video receives, the more likely it is to be promoted by YouTube’s algorithm, increasing the chances of it going viral.
8. Collaborate with Other Creators
Collaborating with other YouTubers or influencers can expose your video to a larger audience, increasing its chances of going viral. Partner with creators who have a similar audience or niche as yours, and create content that both audiences will find appealing. Collaboration can take many forms, such as guest appearances, joint challenges, or shout-outs.
By leveraging each other’s audiences, you can reach viewers who may not have discovered your content otherwise. Collaborations also add variety and creativity to your content, making it more engaging and shareable. The cross-promotion that comes with collaboration can lead to increased views, subscriptions, and shares, all of which contribute to a video’s viral potential.
How Long Does it Take to Edit A Video?
YouTube has become a go-to video streaming platform for many. That’s why a ton of creators have joined this platform. Now, to get the most out of your YouTube videos, you have to edit them properly.
However, for beginners and even some experienced YouTubers, editing videos can sometimes become a hectic task. Therefore, most of them want to know, “How long does it take to edit a YouTube video?” Here is our take on it.
How Long Does It Take to Edit a Movie or Video? Factors That Matter
There is no hard and fast rule to determine the time it takes to edit a 1-minute YouTube video. In reality, the actual editing time depends on various aspects. For example, the length of the video, color grading, audio effects, etc.- All require time.
It’s not just the length of the video that matters in this regard. The experience level of a video editor also matters here. For instance, an experienced editor would take 30-45 minutes to edit a 1-minute video clip.
On the other hand, a beginner or amateur-level video editor can take as long as 1 hour or even more. That’s one primary reason why there isn’t any defined time period for editing a YouTube video.
1: Video Type (Vlog, Promo Video, etc.)
First, the type of video will determine the time duration for editing a YouTube video. For example, a daily vlog or a cooking recipe video won’t take much time to edit and upload. This is because it mainly contains the video file and some additional audio effects. No, additional transitions and video effects are required for editing such videos.
Whereas a short film or a documentary would require a lot of time to edit. That’s because it takes time to give a cinematic feel to the movie footage. Also, it requires some additional video transitions, style elements, and music overlays. So, if you are a vlogger, it won’t be a hectic task to edit and upload them daily. However, if you create video content with a storyline, you may hire a YouTube video editor or spend hours editing it.
2: Footage Quality
You might be surprised, but you don’t necessarily need hours to edit high-quality footage. It doesn’t require much color grading and other fancy video elements. On the other hand, poor-quality videos need a lot to fix in the post-production process.
You have to do your best to get the most out of every footage. These days, advanced PCs and laptops have made it easier to edit high-quality videos. They have fast processors and advanced GPUs (Graphic Processing Units) to render huge video files.
3: Type of Editing Required
Are you okay with the traditional jump-cut-style edited videos? Or do you want to give that cinematic feel to your YouTube videos? Well, that’s what you have to decide early on. There are various editing styles video editors follow. One of them is Jump-cut. This style is relatively easy to implement and doesn’t take much time.
In case you want an enhanced video that looks like a shot from a movie, you will have to spend more time editing it. That’s because it would require some advanced color enhancements, animations, video, and audio effects. All this can increase the video editing time duration. So, the type of editing style also matters here.
4: Video Editing Software
You definitely need the best video editing software for YouTube to give a new life to your video content. However, not all video editing software is the same. Some of them may not support faster rendering or a ton of add-ons. Also, many video editing tools are specifically optimized for advanced GPUs. This really helps in rendering YouTube videos fast.
Therefore, we recommend using AI-powered video editing solutions. For Example, Rav.ai is an excellent AI-powered video app. It automatically selects the best possible tracks and sound effects for your YouTube videos.

How Long Does It Take to Edit A 5-Minute YouTube Video?
Well, it’s a very common question, and almost every YouTuber is searching for it. Again, the actual time duration would matter on several factors (some of them are mentioned above). However, expect a time duration between 1 hour to 4 hours. 5 minutes video clips are quite common on YouTube. But they can take as long as 3-4 hours to edit.
The quality of your footage, audio-video effects, voiceovers (if any), and additional transitions take time here. So, depending on the type of your video and editing style, a 5-minute video should take around 1-4 hours (on average) to edit.
Some Tips to Edit YouTube Videos in A Short Time
Though editing videos for YouTube takes time, you can shorten this time span. Here is how:
1: Organize the Media Files Properly
Instead of uploading all the media files in one go, try to organize them first. It is better to save them in different folders. For example, save video files in one folder and audio files in another. This will help you speed up the editing process.
Usually, you have to deal with hundreds of media files while editing any video. So, once you organize the media files properly, it becomes easier to edit the whole video.
2: Use an All-In-One Video Editing Software
You need a fast, reliable, and advanced video editing solution these days. Now, there are so many video-editing software available. These editing tools also require high-tech gaming PCs and laptops for faster rendering. However, we recommend using an AI-powered editing platform.
For example, an AI-powered video editing platform can really help here. Such AI-based video editing solutions don’t require too much CPU or GPU power. So, even a mediocre content creator can edit professional-looking YouTube videos easily.
3: Custom Presets can Help
Create Custom presets and try to use them in your videos. This significantly reduces the editing time duration. However, in case you don’t have some custom presets, you will have to apply various color effects and video transitions manually. So, to save some time, try to use different Custom presets. You can even use pre-built presets.
4: Know the Shortcut Keys
Professional video editors know the shortcuts to various commands and controls to edit any video. No matter which editing platform they use, these shortcuts really help them. You can do the same to minimize the time it takes to edit a 1-minute or 5-minute video.
Note that you don’t necessarily have to be a professional editor to know some common shortcuts used for editing YouTube videos.
Is It Hard to Edit YouTube Videos?
Well, it can be hard for some. However, it shouldn’t be a hectic task if you know the basics of video editing. But still, many creators think, “Is it that tough to edit YouTube videos?”
These days, an easy-to-use, intuitive, and beginner-friendly video editor can solve this problem. Most advanced video editors are also relatively easy to use. Furthermore, the wide availability of AI-powered video editing solutions has made things even easier.
Despite all this, practicing, practicing, and practicing is the key to being good at editing videos. Yes, only practice will make you a pro-level video editor.
Why Editing Videos Take Time?
That’s another question that pops into the heads of many content creators. You create video content to inspire, teach, motivate, and inspire (or for whatever purpose). Now, if the video you record isn’t presented with the same energy, vision, and ideology, you cannot communicate the message properly to your targeted audience.
That’s where a professionally edited video comes into action. It conveys your message and tells your audience how much value your content has for them. Some simple raw footage (no matter their quality) can’t do the same job.
Therefore, even if you have a 30-second YouTube short to share, edit it properly, and ensure that it has the right audio, video elements, and smooth transitions to enhance the viewers’ viewing experience.
“YouTube an error occurred” Some Possible Causes:
YouTube is one of the most popular video-sharing platforms in the world, with millions of users watching and uploading videos every day. However, sometimes users encounter an error message while trying to play a video on YouTube. One such error message is “YouTube an error occurred Playback ID”.
This error message can be frustrating, especially if you are trying to watch an important video or a favorite show. The error message can occur due to various reasons such as issues with the network connection, corrupted browser files, badly cached DNS data, issues with the Automatic DNS, browser extensions, or an outdated browser.
1: DNS issues:
DNS stands for Domain Name System, which is responsible for translating domain names into IP addresses.
If there are issues with your DNS settings, it can cause problems with accessing websites, including YouTube. Changing your DNS to a public DNS server like Google DNS or OpenDNS may help resolve the issue.
2. Browser issues:
Corrupted browser data, third-party extensions, or problems with site cookies can also cause this error. Clearing your cache, disabling extensions, or resetting your browser settings may help fix the issue.
Corrupted browser data can occur due to various reasons, such as a sudden power outage or a virus attack. Third-party extensions can interfere with YouTube videos and cause the error to occur. Problems with site cookies can occur due to issues with your browser settings or website data.
YouTube Not Showing Comments or Related Videos
3. Flash player issues:
Flash Player is a plugin that allows you to play multimedia content on websites. If you’re using an outdated version of Flash player, it may cause this error to occur. Uninstalling Flash Player from your computer may help resolve the issue.
Adobe Flash Player is no longer supported by most browsers, so it’s recommended to use HTML5 instead.
4. Video streaming quality:
If the video you’re trying to watch is of poor quality or has buffering issues, it may cause this error to occur. Changing the video quality or waiting for the video to buffer may help fix the issue.
Poor video quality can occur due to issues with your internet connection or the video itself. Buffering issues can occur due to slow internet speeds or issues with the YouTube server.

5. Internet connection issues:
Slow or unstable internet connections can also cause this error to occur. Checking your internet connection or resetting your network adapter may help resolve the issue.
Internet connection issues can occur due to various reasons, such as network congestion, router issues, or ISP problems.
6. YouTube server issues:
Sometimes, the error may be caused by issues with the YouTube server itself. In this case, waiting for a while or trying again later may help fix the issue. YouTube server issues can occur due to various reasons, such as maintenance, updates, or technical glitches.
7. Outdated browser:
Using an outdated version of your browser can cause this error to occur. Updating your browser to the latest version may help fix the issue. Outdated browsers may not support the latest web technologies, which can cause issues with accessing websites.
8. Browser extensions:
Sometimes, browser extensions can cause issues with YouTube playback. This can happen if the extensions are outdated or if they conflict with other extensions or browser settings.
“YouTube an Error Occurred” – Best Possible Fixes
Here is a step-by-step guide for all the possible fixes for the “YouTube an Error Occurred Playback ID” error message:
Fix 1: Restart Your Network Device
Step 1. Attempt to open a new page in the browser and see if the page will load. If you can’t access the page, please restart your network device.
Step 2. To restart your network device, press the Power button (usually located in the device’s back) and wait for about one minute before turning it back on.
Step 3. Once your device is connected to the network, try playing the same video on YouTube and see if the error message persists.
Fix 2: Clear Cache and Data of the Browser
Step 1. Click the Google Chrome menu at the top right corner of the Google Chrome interface.
Step 2. Choose More tools > Clear browsing data from the menu.
Step 3.
On the Clear browsing data window, select the time range, tick the boxes associated with Cookies and other site data and Cached images and files, and click the Clear data button.
Fix 3: Disable Browser Extensions
Step 1. Click the Google Chrome menu at the top right corner of the Google Chrome interface.
Step 2. Choose More Tools> Extensions from the menu.
Step 3. On the extensions window, click the toggle associated with the newly installed extensions to disable them.
Fix 4: Flush DNS Cache
Step 1. Launch Command Prompt on your Windows computer.
Step 2. Type cmd inside the Windows search bar.
Step 3. Hit the Enter key.
Step 4. Once the Command Prompt launches, type DNS cache: ipconfig/flushdns in the CMD window and hit the Enter key to run this command.
Step 5. Wait for the Windows utility to complete this task. Then, see if the error message will show up when you play a YouTube video.
Fix 5: Use Google DNS
Step 1. Open the Control Panel on your Windows computer.
Step 2. Click on Network and Internet > Network and Sharing Center.
Step 3. Click on Change adapter settings.
Step 4. Right-click on your network connection and select Properties.
Step 5. Select Internet Protocol Version 4 (TCP/IPv4) and click on Properties.
Step 6. Select Use the following DNS server addresses and enter the following values: Preferred DNS server: 8.8.8.8, Alternate DNS server: 8.8.4.4.
Step 7. Click OK to save the changes.
Step 8. Try playing the same video on YouTube and see if the error message persists.
Fix 6: Reinstall the Browser
Step 1. Uninstall the browser from your computer by going to Control Panel > Programs and Features, selecting the browser, and clicking Uninstall.
Step 2. Download the latest version of the browser from the official website.
Step 3. Install the browser on your computer.
Step 4. Try playing the same video on YouTube and see if the error message persists.
Final Thoughts!
So, now you know all about YouTube editing and issues related to it. We highlighted the importance of YouTube shorts, how to make them, and also edit them. Similarly, we talked about some of the common errors of YouTube for the ease of our readers.
This guide should help you get the most out of this famous video streaming platform. Tools like Rav.ai are always there to help you edit on the go. Whether you are an individual content creator or an agency, Rav.ai will surely boost your video content-making journey. Try it out now!