Table Of Contents
YouTube Video Editing – A Definitive Guide
How Can I Learn Video Editing By Myself?
1: Opt for Competitive Hardware
2: Choose a Reliable Video Editing Software
3: Learn How to Organize Video Footage
4: Practice Basic Cuts and Transitions
5: Practice to Get Used to the Basics
Some Tips on Learning Video Editing Online:
1: Edit Your Production:
2: Always Put Story First:
3: Add Special Effects, Text, And Graphics:
4: Learn To Use Colors:
5: Obey The 321 Rule:
How to Edit Zoom Videos for Social Media?
How to Record a Zoom Meeting for Video Editing
How to Edit Zoom Videos?
Best Video Editing Software with Low System Requirements Review in 2024
1. Filmora X
2. HitFilm Express 2024
3. DaVinci Resolve 18
4. VSDC Free Video Editor
5: RAV.AI
Best and Cheapest Video Editing Software in 2024
1. Shotcut
2. Movavi Video Editor Plus
3. Lightworks
4. Pinnacle Studio
5. Corel VideoStudio Pro
What Do YouTubers Use To Edit Videos?
Best Video Editing Software for YouTube
1: Adobe Premier Pro
2: Final Cut Pro
3: Rav.ai
4: EaseUs Video Editor
5: Lightworks
Future of Video Editing – 2025 and Beyond
What is Artificial intelligence (AI) Video Editing?
What is the Best AI Video Editing Software?
1: Adobe Premiere Rush CC
2: Final Cut Pro X
3: iMovie
4: Magisto
5: WeVideo
RAV.AI: Future of Video Editing
What are the Benefits of Using AI Video Editing Apps?
1: Automated Transcription
2: Automated Color Correction
3: Automated Scene Detection
4: Automated Video Editing
5: Better Search Functions
Final Thoughts!
Video editing has become an essential skill in the digital age, with over 2.7 billion active users on YouTube and millions more on social media platforms like Instagram, Facebook, and TikTok, video content continues to dominate online engagement, making mastering video editing more important than ever.
This comprehensive guide is designed to help you navigate the world of video editing, whether you’re a beginner or an experienced creator.
We’ll start by exploring how to learn video editing for YouTube, where over 500 hours of videos are uploaded every minute.
You’ll also find tips on editing videos for social media, where 54% of consumers want to see more video content from brands they support. For those working with limited resources, we’ll highlight the best video editing software with low system requirements and budget-friendly options that still deliver professional results.
Further, we’ll dive into the tools and software used by top YouTubers and gamers, shedding light on industry standards that drive millions of views.
Lastly, we’ll examine the future of video editing, focusing on emerging trends like AI-driven tools that are expected to revolutionize the industry.
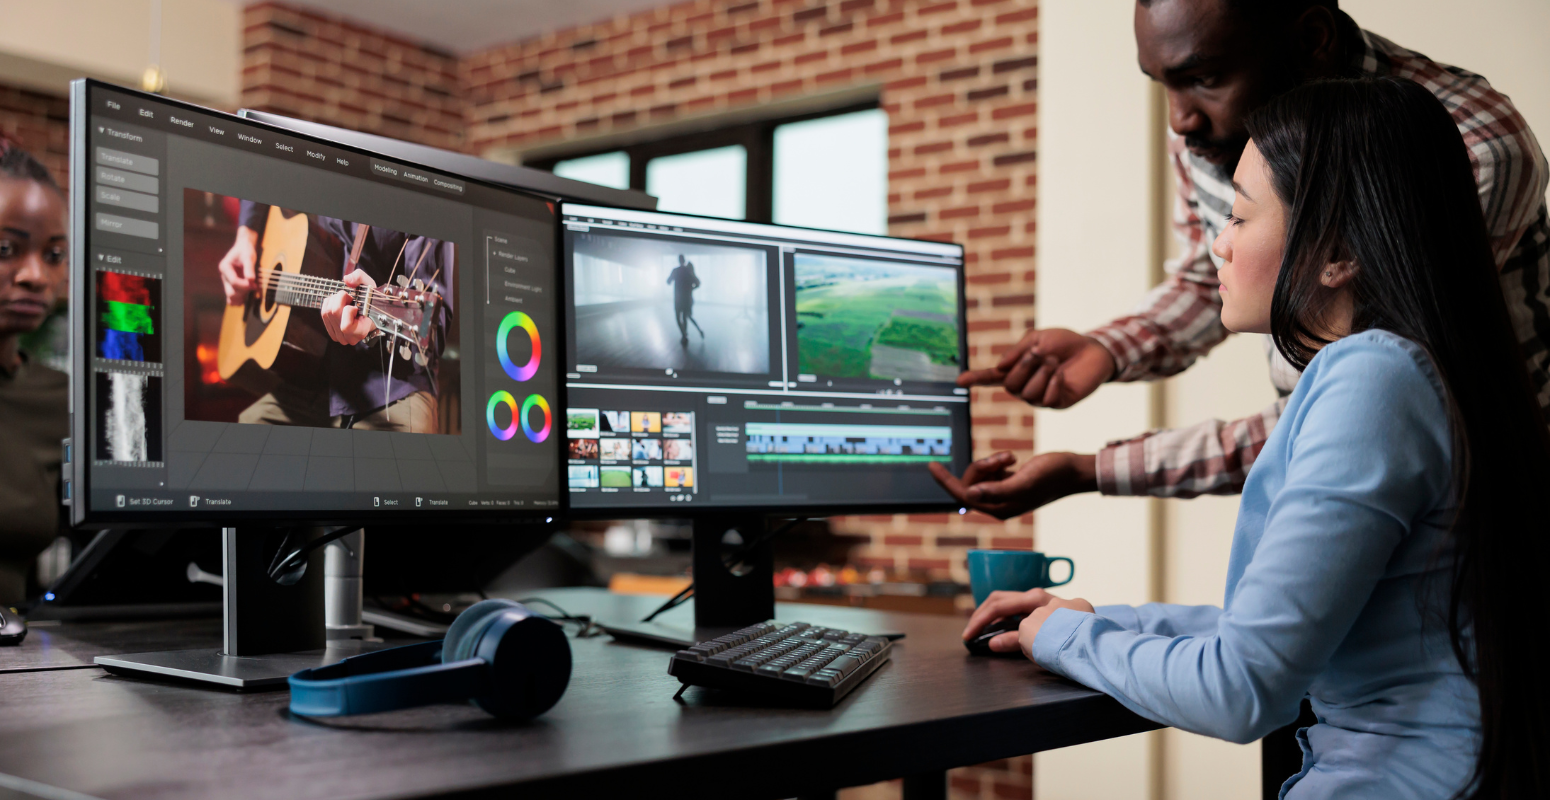
How Can I Learn Video Editing By Myself?
Learning video editing on your own can seem challenging, but with the right approach, you can master it step by step. Here’s how you can start:
1: Opt for Competitive Hardware
The first step in learning video editing is ensuring you have the right hardware. Video editing can be demanding on your computer, so investing in a machine that can handle the load is important.
Look for a computer with a strong processor, plenty of RAM (at least 16GB), and a decent graphics card.
These components will help you work efficiently and reduce rendering times, allowing you to focus more on the creative aspects of editing rather than waiting for your computer to catch up.
2: Choose a Reliable Video Editing Software
Selecting the right video editing software is crucial for your learning journey. There are numerous options available, from beginner-friendly programs to professional-grade software. Consider using automated video editing solutions like Rav.ai, which offer a fast and hassle-free editing experience.
Rav.ai not only streamlines the editing process by automating tasks but also allows you to directly upload your videos to social media platforms. This can be especially helpful if you’re looking to quickly produce and share content without getting bogged down in the technical details.
3: Learn How to Organize Video Footage
Organizing your footage is a key skill in video editing. Start by creating a logical folder structure on your computer to store your raw footage, audio, and other assets. Label everything clearly so that you can easily find and access your files during the editing process.
Many video editing software programs also allow you to create bins or collections within the project to further organize your clips. Good organization will save you time and help you maintain a smooth workflow as you edit.
4: Practice Basic Cuts and Transitions
Once your hardware and software are set up and your footage is organized, it’s time to dive into the actual editing. Begin by practicing basic cuts and transitions, as these are the foundation of video editing. Learn how to trim clips, splice them together, and apply simple transitions like crossfades or cuts.
These basic techniques will form the backbone of your editing skills and are essential for creating seamless and engaging videos.
5: Practice to Get Used to the Basics
The key to mastering video editing is practice. The more you edit, the more familiar you’ll become with the tools and techniques at your disposal. Start with small projects, like editing short clips or vlogs, and gradually work your way up to more complex projects.
Don’t be afraid to experiment with different styles and effects—this is how you’ll find your unique editing style. As you gain confidence with the basics, you’ll be able to take on more challenging editing tasks and continue to improve your skills.
Some Tips on Learning Video Editing Online:
1: Edit Your Production:
Creating a video from the individual photographs you took is simple, regardless of the editing application you use. Obviously, the goal is to create a seamless video that effectively conveys your point.
Most editing applications allow you to drag individual shots onto a timeline view. Every single one of your shots is a video file that you’re inserting into the timeline of your master video. If the photographs don’t work for you, they can be changed, cut, shortened, and eliminated. Finally, you can use transitions such as fades to give the final result a more professional look.
2: Always Put Story First:
Consider how your choice will affect the plot while making edits, whether you’re choosing which shot to use or where to trim. This isn’t only true for fiction films; it applies to political speeches and product advertisements.
It’s not always the ideal strategy to add an effect just because it’s flashy or to choose the most visually appealing clips. Instead of focusing on the central message, these choices might often detract from it.
It is important to think about what you want your viewers to take away from the video and how you can best convey that message to them. So, always put the story first, as it helps engage the viewer.
3: Add Special Effects, Text, And Graphics:
After your video has been edited into a single piece, you can add special effects to it. You can superimpose that text onscreen to show your website URL or toll-free phone number, which is what most businesses desire in their video. You can add a text overlay to the video at specific points if you have video editing software.
By superimposing images or graphics, it is possible to display a product package while another action takes place onscreen. Other special effects include split-screen, soft focus, and sepia tone. When it comes to adding background music, the editing tool also offers a range of music genres to choose from. You don’t need to be an expert to use these features because most of these apps lead you through them step by step.
No matter how appealing these special effects may be, don’t go crazy with them. You don’t want images to distract from your main message. Instead of getting in the way, they should help you convey your story.
4: Learn To Use Colors:
Color correction and color grading are two distinct methods of modifying color. Color correction refers to the process of adjusting your clips for fundamental homogeneity. Putting together two photos taken with different cameras or in different lighting conditions may be disorienting. Your camera’s brightness, contrast, and white balance settings may usually be modified to rectify this.
The following phase in the process, color grading, alters a scene’s appearance. LUTs, which apply a preset style, can be used as a starter in some high-end editing tools, but more seasoned users can also employ them. Consider how a colder or warmer design might impact the tone of your video.
5: Obey The 321 Rule:
Video editors, like woodworkers, should learn from the start to measure twice and cut once. All of your work should be kept in at least two separate locations, one of which should be physically separated from the other two. Keep three copies of anything you create.
How to Edit Zoom Videos for Social Media?
Zoom has become an essential tool for businesses and individuals alike. Its video recording has earned fame with the rise of remote work and virtual meetings.
Not only this, but you can also use these recorded videos for social media to engage your audience. And if you know how to cut and edit Zoom recordings, you can provide valuable content and showcase your brand.
How to Record a Zoom Meeting for Video Editing
Recording a Zoom meeting is an easy process and can be accomplished in just a few steps. Below is a step-by-step guide on how to record a Zoom meeting for video editing.
Step 1: Start a Zoom Meeting
Of course, you can’t record a meeting without initiating one. To record a Zoom meeting, you don’t have to do anything extra. Simply begin by starting a Zoom meeting as you normally do, either as the host or a participant.
Step 2: Initiate the Recording
Once your meeting has begun, you can start recording it. There are two ways to do so, with Zoom meeting controls and from the Zoom menu bar.
You can start the recording directly from the “Record” option in the Zoom menu bar. There is also a “Record” button in the Zoom meeting controls. Then you’ll have to choose the folder where you want to save the recordings.
Step 3: Recording Options
The beauty of Zoom meeting recording is that you can choose to record audio, video, or both. The app also allows users to record separate audio and video files.
Step 4: Save the Recording
Once the meeting is finished, Zoom will automatically stop the recording and save it to your device. If you have selected the cloud recording option, the recording will be saved to the Zoom cloud.
Step 5: Download the Recording
Once the recording is complete, you can download it to your computer. You can find the recording in the Zoom folder in your documents. The app will download the recording in the specific folder you selected when you started the recording.
With these simple steps, you can easily record your Zoom meetings. We recommend you always check the recording settings before starting the process. You can adjust the settings as needed to achieve the desired result.
How to Edit Zoom Videos?
It is easy to record and save Zoom meetings for later use. However, the quality of Zoom recordings isn’t good enough by default. In most cases, you cannot use these recordings directly on social media.
Zoom videos are usually shot in widescreen or with a picture-in-picture approach. So, if you share Zoom-recorded videos on social media as they are, they won’t look good. But you can edit them to improve the video quality and get the desired results.
Below is a step-by-step guide on how to edit Zoom videos for social media.
Step 1: Place your Zoom recording in gallery mode
So, let’s suppose you have a raw Zoom recording of a meeting. And you want to learn how to edit Zoom recordings on the computer for free. You must start by understanding the basics of a Zoom video recording.
By default, your Zoom recording will be in speaker mode. The mode will highlight whoever is speaking at any given time in the video. An easy way to avoid this is to ensure that when you are in the Zoom meeting, you record in gallery mode. This will put the image by side, just like you’d see on a screen.
Step 2: Switch to gallery mode on your Zoom recording
Simply go to File > Open Files, find the Zoom recording file, and open it.
- Once it’s open in the MPEG stream clip, scroll through the timeline. Here you can find the in-point that you want to appear in your video. Then simply press I to set an in-point which you can see marked on the timeline.
- You can play around with it to find out where you want to end this short extract.
- You’ll have a short piece of video content highlighted with a little in-point and out-point. This is the section that you can edit or remove.
- Now select the File, and Export to MPEG4 from the menu. But make sure that the quality is set to high and compression is using H.264.
- Leave the frame size, sound level, or sound options, and pretty much everything else at default.
- Make sure that the quality is set to 100.
- Click “Make MPEG4”, and then select a location to save the file.
- Allow it to encode and then exit the MPEG Stream Clip.
Step 3– Navigate to Canva.com
Open Canva and if you don’t have an account, create one. If you aren’t aware of how to edit Zoom recordings in Canvas, follow the below steps.
Open Canva and then click the “Create a design” option. Then create custom dimensions keeping in mind your desired social media channel. Canvas square aspect ratio designs are ideal for Facebook, Instagram, and LinkedIn.
- Now, you’ll have a blank square canvas and can import the video extract to the canvas.
- Click on uploads, then select an image or video to upload. Then, navigate to the location where the file is saved and put that extract into Canva.
- Once uploaded, press on that video and add it to my canvas. You need to grab the resize handle to make sure all the subjects in the video are somewhat centered.
- Now that you’ve got the video in Canva in a square frame check if the fit looks good. If it isn’t, customize some of the elements to make it right. Simply go to the elements tab and import desired shapes.
- You can use these free shapes in a number of multiple ways. So you can now use a shape and pick a color that suits your brand.
- For further personalization, upload your brand logo file and place it. You can place it in any corner of the canvas.
Now it’s time to create a heading, which you can also resize and reposition. Pick a nice bold font for your heading that is engaging for your viewers.
You can also capitalize on some of the other advantages of Canva for Zoom video editing. Social media stickers are usually quite relevant to social media videos. Once you are done, download the file to use it for social media sharing.
Step 4 – Adding Captions Using Rav.ai
The following step is to add useful captions to the videos through the Zoom video editor app. This is where you can take advantage of the AI-based Zoom video editor online called rav.ai. It is an automatic transcribing and burnt-in captioning program that you can get Here.
With RAV.AI, editing your Zoom video is just a piece of cake. If you want to know how to edit a Zoom recording for free, this is the best tool. You don’t have to hire a professional or waste your money on complex tools. This is an AI-based video editing tool, and you’ll be amazed at how accurately and precisely artificial intelligence does all your work.
Best Video Editing Software with Low System Requirements Review in 2024
As video editing continues to grow in popularity, not everyone has access to high-end computers with powerful hardware. Fortunately, several video editing software options in 2024 cater to users with low system requirements.
Here’s a look at five of the best video editing software options available this year that won’t strain your computer’s resources.
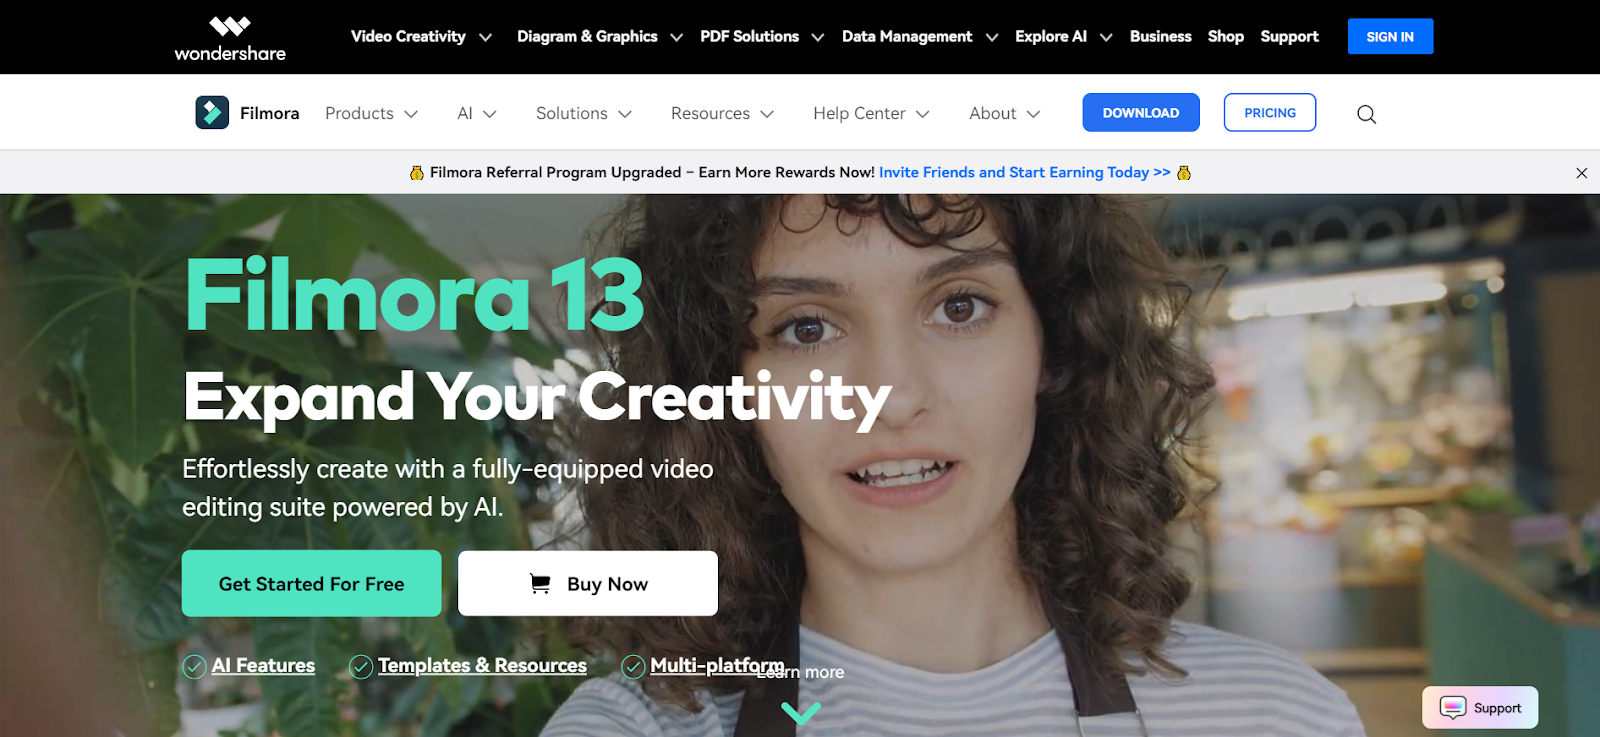
1. Filmora X
Filmora X has established itself as one of the go-to video editing tools for basic hardware users. Designed for both beginners and semi-professionals, Filmora X is known for its user-friendly interface and wide range of features. It can run efficiently on computers with as little as 4GB of RAM and an Intel i3 processor.
The software includes features like keyframing, motion tracking, and color matching, allowing you to create polished videos even on a low-spec machine. Filmora X also offers a vast library of effects, transitions, and royalty-free music, making it an excellent choice for content creators who need a straightforward yet powerful editing tool.
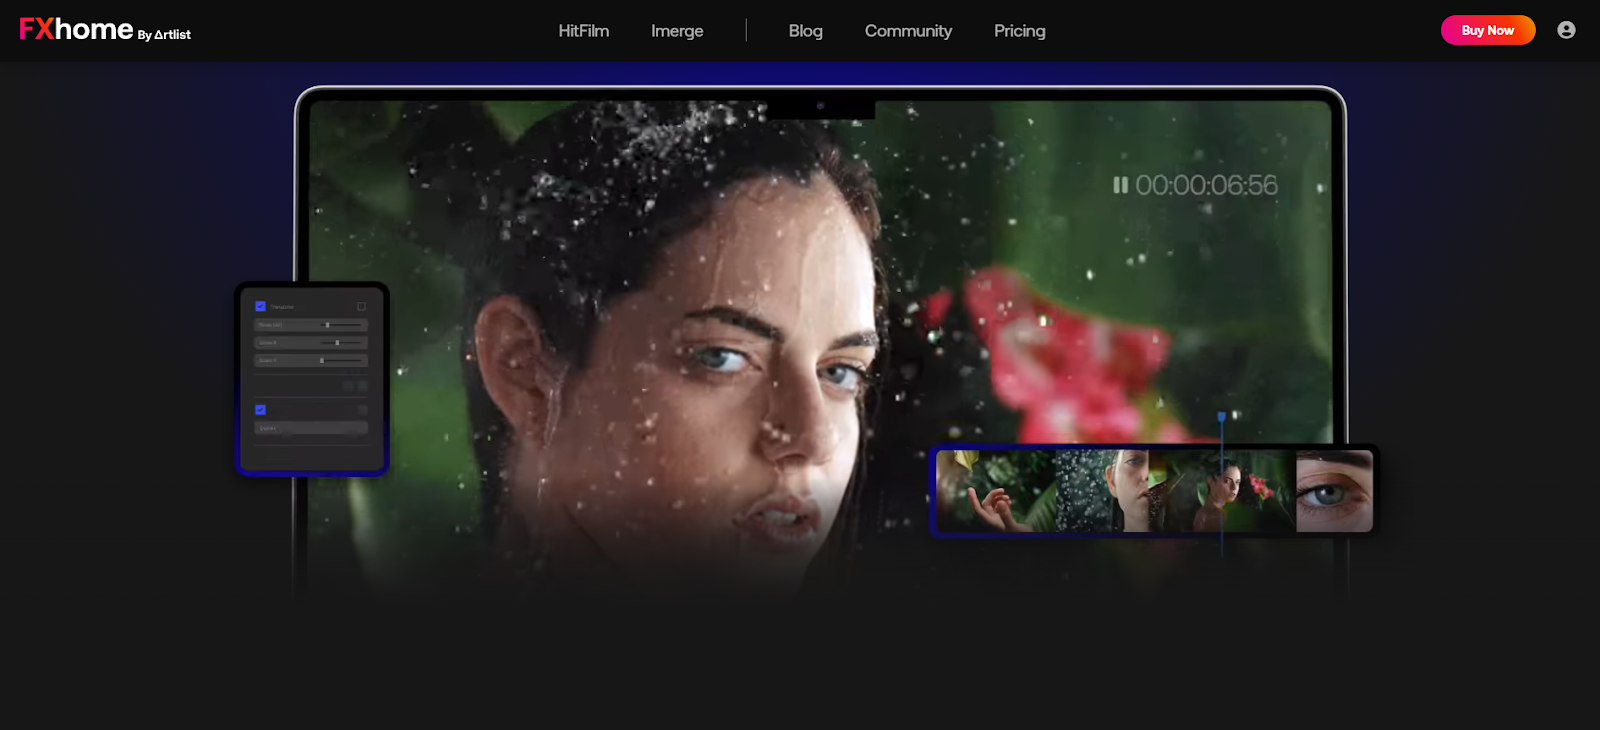
2. HitFilm Express 2024
HitFilm Express 2024 is another excellent option for users with limited hardware. This free video editing software is known for its robust set of features that rival even some paid options. Despite its advanced capabilities, HitFilm Express is optimized to run on systems with at least 4GB of RAM and an Intel Core i3 processor.
It supports up to 4K video editing, although lower resolutions may be more suitable for older machines. The software includes advanced features like compositing, 3D rendering, and visual effects, making it ideal for users who want to explore more creative video editing options without needing a high-end computer.
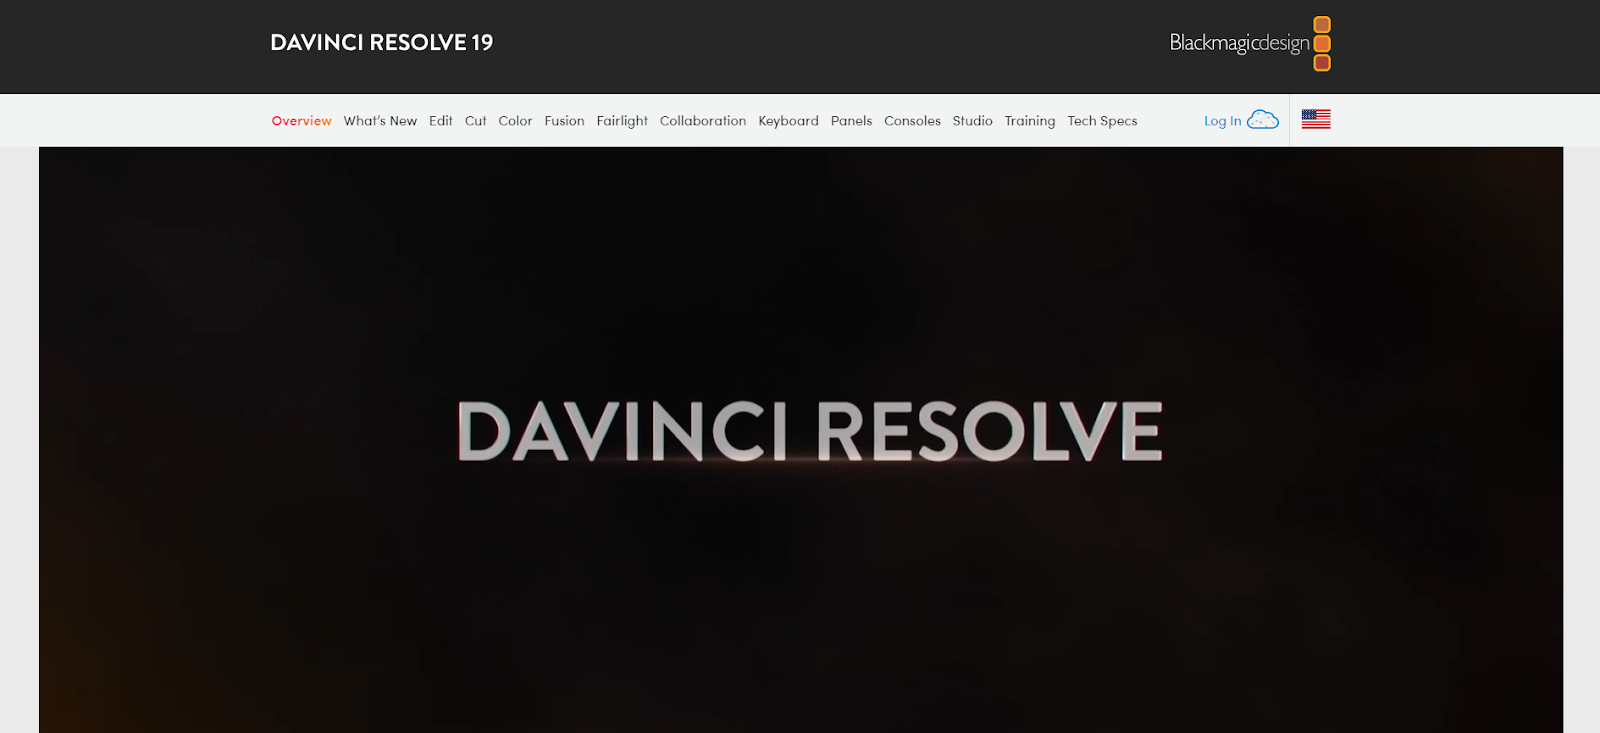
3. DaVinci Resolve 18
DaVinci Resolve 18 is well-known for its professional-grade tools, yet it remains accessible to users with lower-end hardware. While it’s packed with features like color correction, audio post-production, and visual effects, it can still operate smoothly on systems with 8GB of RAM and an Intel i5 processor.
DaVinci Resolve 18 is a powerful tool for those who want to learn professional video editing without the need for expensive hardware. It’s particularly favored for its industry-leading color grading capabilities, making it a top choice for aspiring filmmakers and video editors.
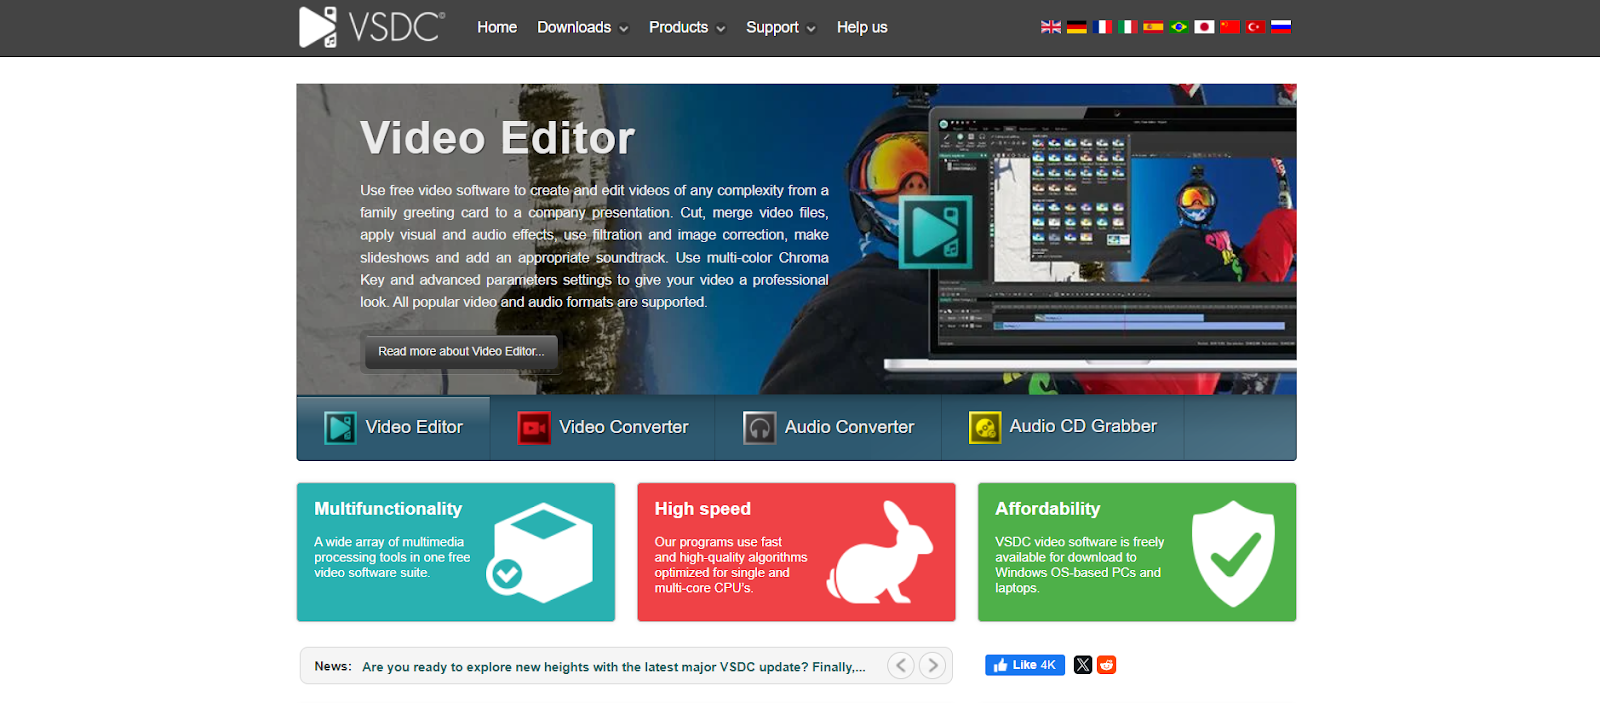
4. VSDC Free Video Editor
VSDC Free Video Editor has been a popular choice among users looking for lightweight software with a wide array of editing tools. The 2024 version of VSDC continues this tradition by offering a feature-rich experience that runs well on computers with as little as 2GB of RAM.
It supports a wide range of formats and offers features like non-linear editing, color correction, and visual effects. Despite its low system requirements, VSDC doesn’t compromise on quality, making it an excellent choice for users who need reliable video editing software on older or less powerful computers.
5: RAV.AI
RAV is not a software or tool like other video editing software; it is an AI-based video editing service that will handle your work more proficiently. You may be thinking, why choose RAV when you can use any other software or hire an editor?
Well, you know that AI is taking control of every system now, but not all the software provides you with AI features. And if you hire an editor, you have to spend a lot which could affect your budget badly.
For example, if you get a video edited by a professional but you don’t like that and ask for a revision, the editor will definitely charge you an extra amount for a single revision. But with RAV, you can request as many revisions as you want with no extra charges.

Best and Cheapest Video Editing Software in 2024
Finding affordable video editing software can be challenging, especially when you want powerful features without breaking the bank.
Fortunately, there are several budget-friendly options available in 2024 that provide excellent editing tools without a hefty price tag. Below are five of the best cheap video editing software options that offer great value for your money.
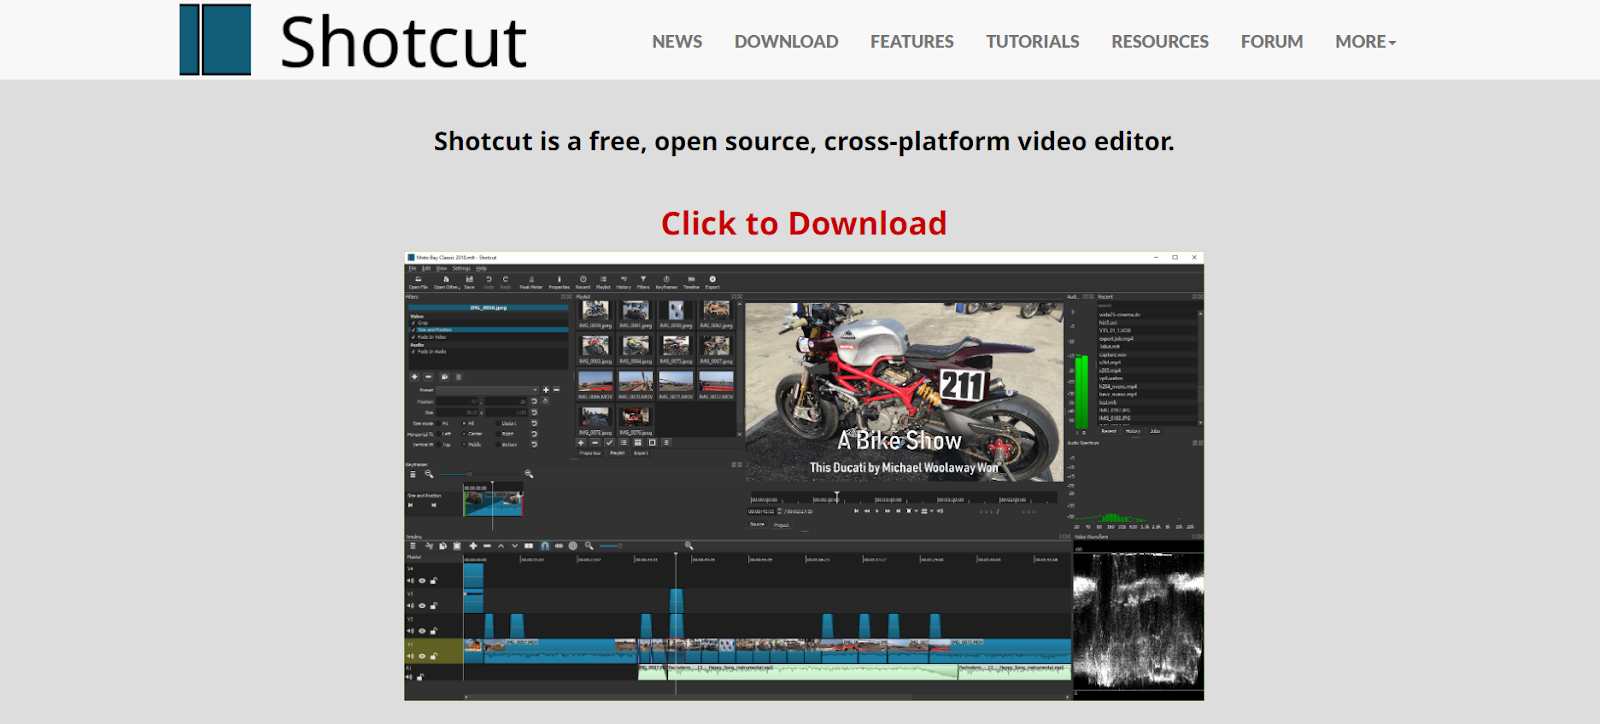
1. Shotcut
Shotcut is a free, open-source video editing software that offers professional-grade features at no cost. It’s a great choice for those who need powerful editing tools without spending any money. Shotcut supports a wide range of formats and includes features like multi-track editing, video transitions, and advanced filters.
It’s also highly customizable, allowing you to set up the workspace according to your preferences. Shotcut is ideal for beginners and intermediate users who want to create high-quality videos on a budget, making it one of the best free options available in 2024.
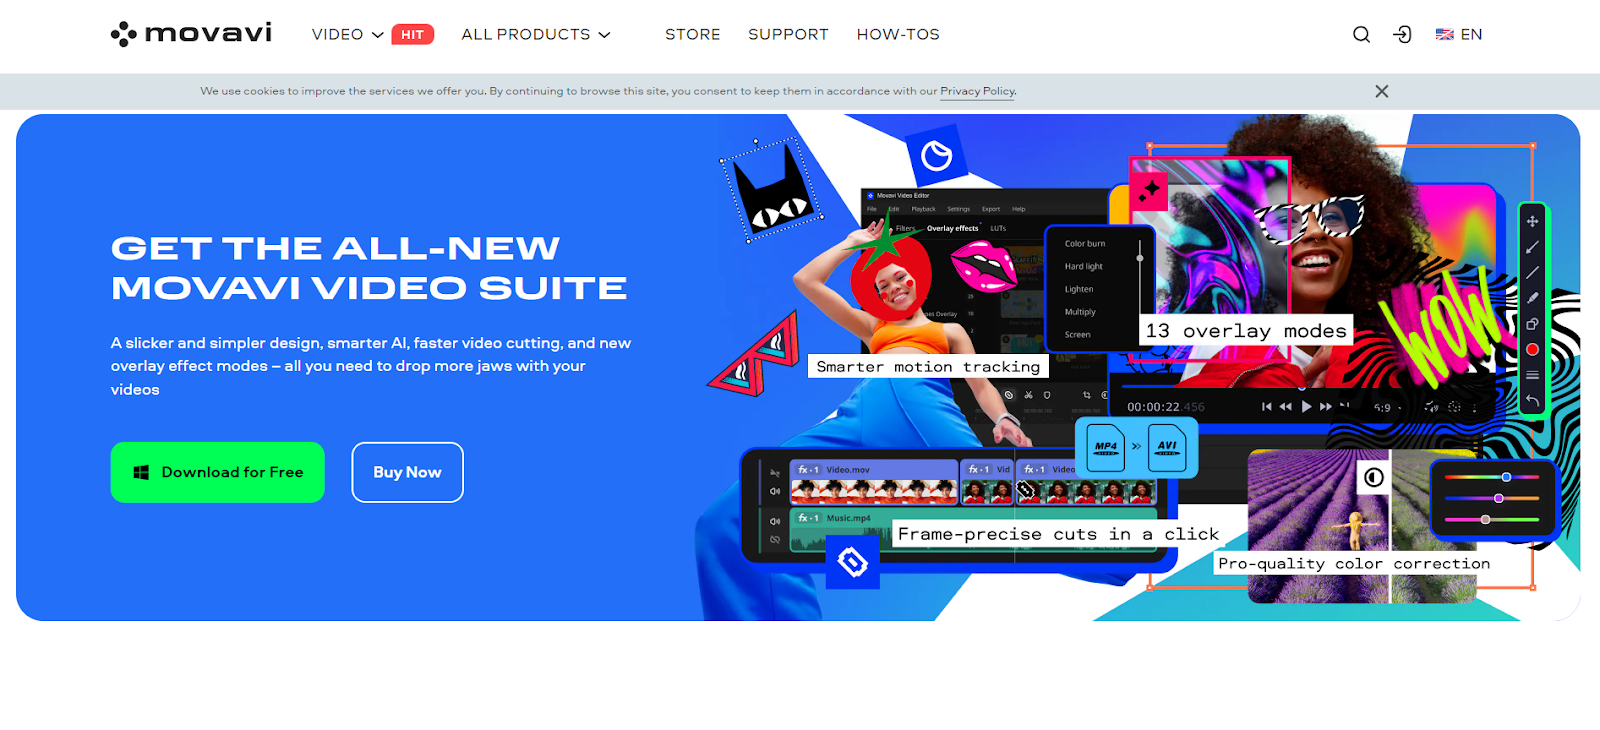
2. Movavi Video Editor Plus
Movavi Video Editor Plus is an affordable option for those looking to step up their video-editing game. Priced competitively, this software offers a user-friendly interface that’s perfect for beginners, while also providing enough advanced features to satisfy more experienced editors. Movavi includes tools for color correction, slow motion, and chroma keying (green screen effects), along with a variety of transitions and filters.
Its straightforward drag-and-drop functionality makes video editing simple, yet effective. If you’re looking for a balance between cost and capability, Movavi Video Editor Plus is a great choice.
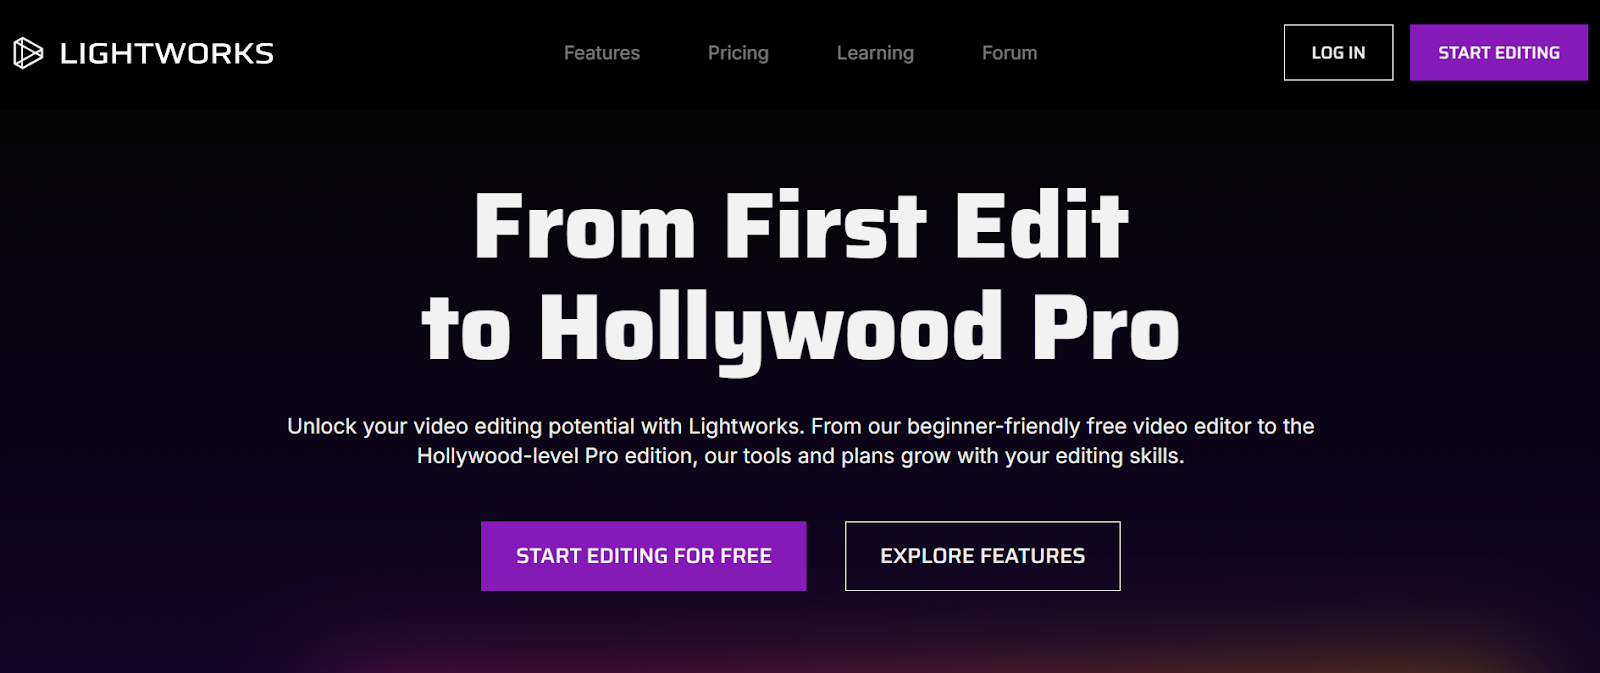
3. Lightworks
Lightworks is a professional video editing software that offers a free version as well as a more feature-rich paid version at a low cost. The free version is already packed with powerful tools, but upgrading to the paid version gives you access to even more advanced features like 4K video support and premium effects.
Lightworks has been used in the editing of major Hollywood films, so you know it’s a powerful tool. The software is intuitive and designed to make the editing process as efficient as possible. For those looking to invest in their editing skills without spending too much, Lightworks offers a fantastic blend of professional features at an affordable price.
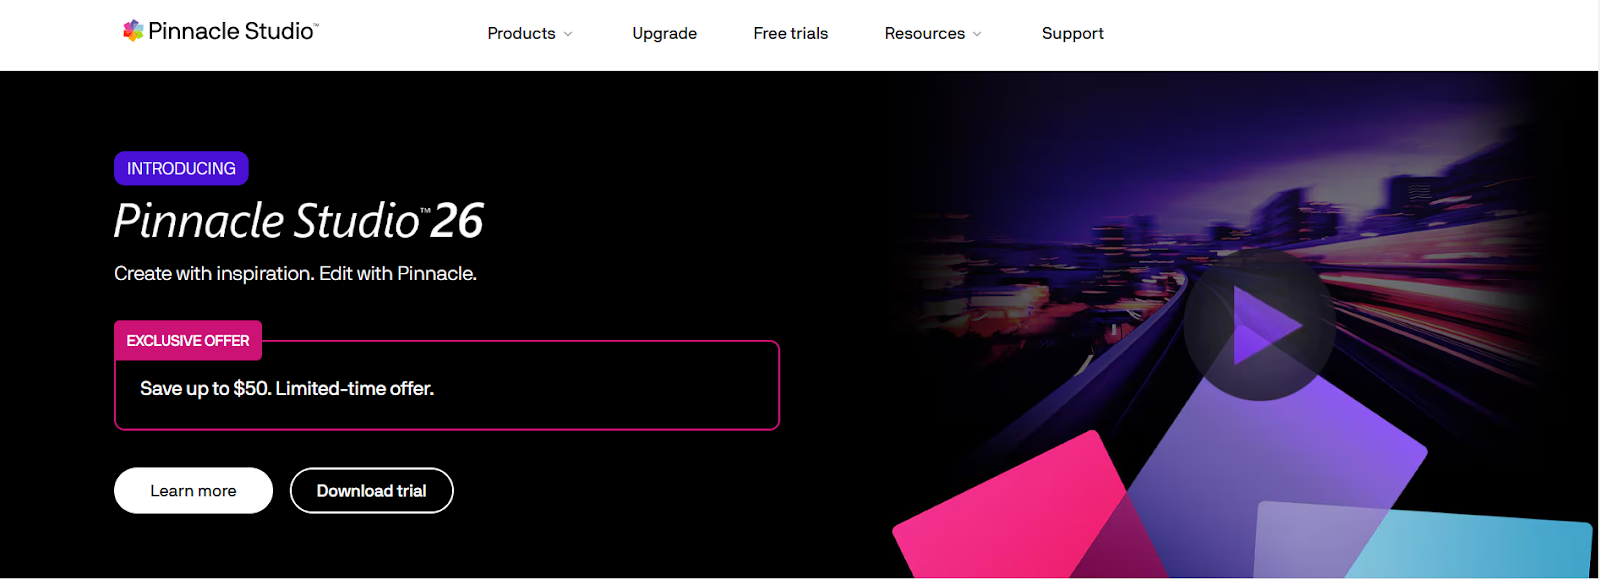
4. Pinnacle Studio
Pinnacle Studio is another cost-effective video editing software that offers a lot of bang for your buck. It’s geared towards beginners and intermediate users who want a straightforward yet powerful editing experience.
Pinnacle Studio provides features like multi-camera editing, stop-motion animation, and motion tracking, all within a user-friendly interface. The software is often praised for its speed and efficiency, allowing you to complete projects quickly without compromising on quality. It’s an excellent option for those who want advanced features at a budget-friendly price.
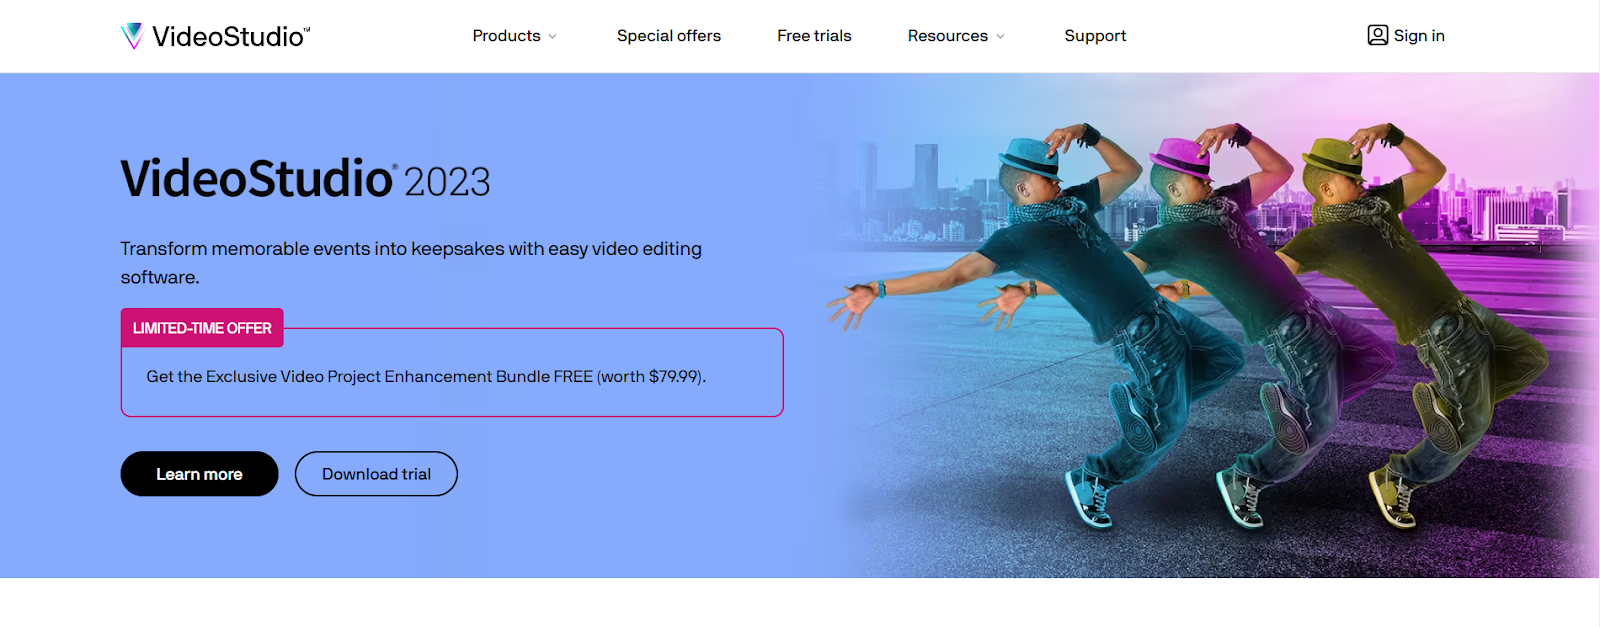
5. Corel VideoStudio Pro
Corel VideoStudio Pro is a budget-friendly option that doesn’t skimp on features. This software is particularly popular for its ease of use, making it a great choice for beginners who want to start editing right away. Corel VideoStudio Pro includes features like 360-degree video editing, multi-camera editing, and hundreds of effects and transitions.
It also offers a customizable workspace, allowing you to tailor the editing environment to your liking. With its reasonable price and extensive feature set, Corel VideoStudio Pro provides excellent value for anyone looking to create professional-quality videos on a budget.
What Do YouTubers Use To Edit Videos?
Top-rated Youtubers such as Marques Brownlee, Mr. Beast, Casey Neistat, and Peter McKinnon use editing software such as Adobe Premier Pro and Final Cut Pro. Now, both these YouTube video editors for PC are paid and offer top-notch features.
Further, many of these YouTubers have dedicated production teams who handle all the post-production-related hassle. So, they’ve got multiple ways to ensure high-quality video output.
So, a beginner should focus on free YouTube video editors to kick-start his content creation journey. Later, you can opt for video editing services or AI-powered video editors. Anyhow, we will explain the best video editing software for YouTube.
Best Video Editing Software for YouTube
So, here is a list of some of the best Beginner free video editing software for YouTubers just like you. So, let us take a look at them!
1: Adobe Premier Pro
First up, we have Adobe Premiere Pro. It is one of the best video editing software for YouTube, and it does not have a watermark available today. Therefore, it has become the go-to choice for YouTubers, filmmakers, and businesses.
With Adobe Premiere Pro, you can create high-quality videos quickly, using a range of features such as unlimited tracks for audio and video clips, native support for virtually any camera format, real-time previewing with title overlays, multi-cam editing capabilities, color correction tools, animation effects, and transitions.
These features allow YouTubers to produce professional-looking videos without having expensive or complex hardware or software. In addition to these basic features, Adobe Premiere Pro also offers a wide range of advanced options and effects to help content creators take their production value up a notch.
For example, the program includes powerful color-correction capabilities that can be used to give videos an extra creative touch, as well as 3D editing tools for creating unique graphics for titles and other visual elements.
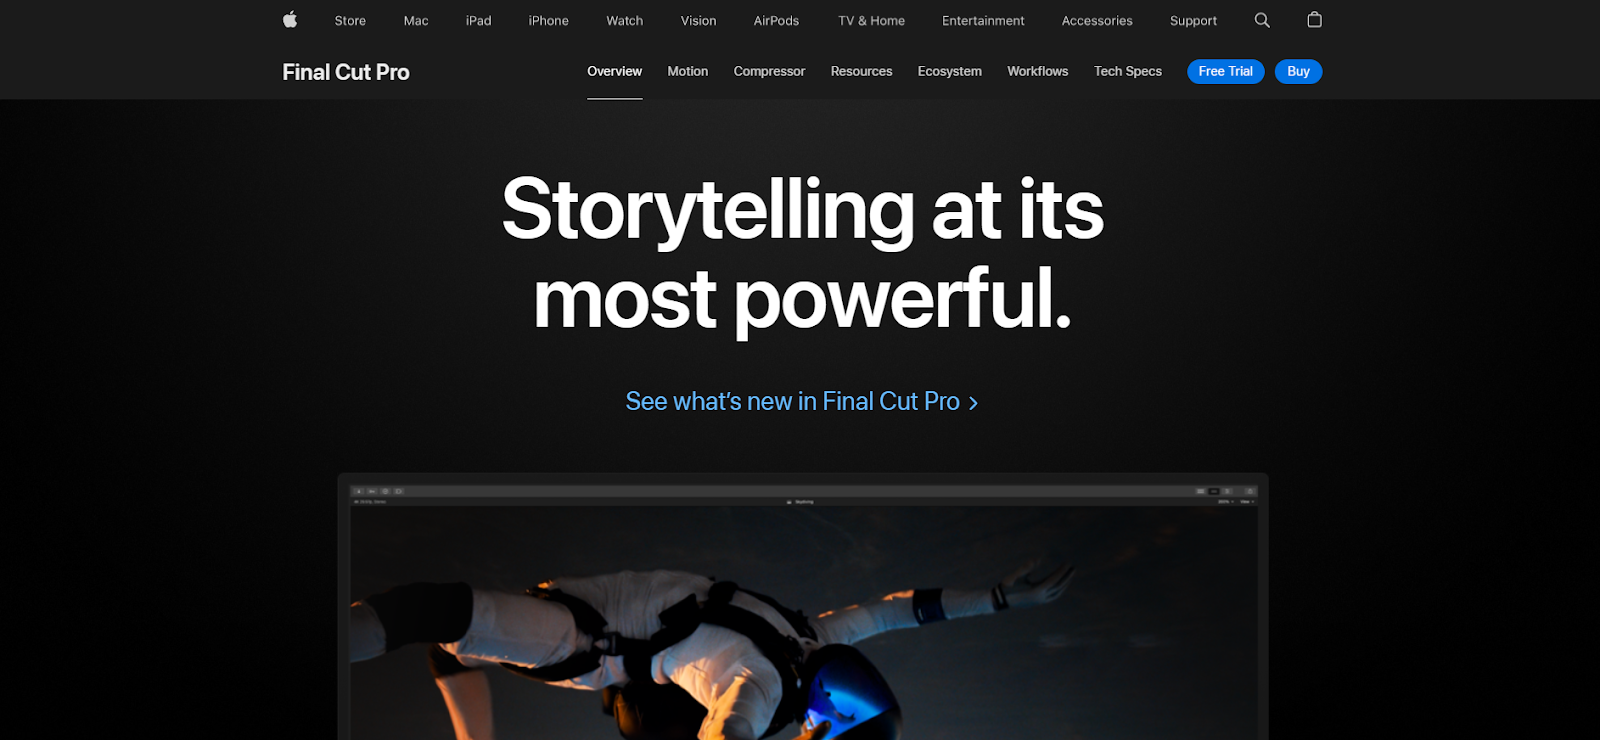
2: Final Cut Pro
With Final Cut Pro, Youtubers get access to the best editing tools available. In addition, it offers intuitive UI, a powerful set of features that make it easy for them to create stunning visuals and content quickly and easily.
So, whether you are creating educational tutorials or entertaining videos, you can use Final Cut Pro to craft your stories with superior sound design, smooth transitions, and color grading.
Anyhow, you also get advanced features such as an intuitive timeline to manage and organize their media files and advanced editing tools that make it easy for them to perform tasks like chroma keying or green screening.
Plus, the software’s integration with other Apple devices means Youtubers can easily transfer their projects between Macs, iPhones, iPads, and Apple TVs. This makes it simple for them to share videos with viewers across different platforms.
3: Rav.ai
Rav.ai is gradually becoming everyone’s favorite video editing solution. Whether you are a filmmaker or a YouTuber, rav.ai has something for every content creator. Call it a video editing tool, service, or platform; it makes the whole video editing process a breeze.
Rav.ai is an AI-powered video editing solution that lets you edit high-quality videos with minimal human input.
All you have to do is import media, add edit notes, share a reference video (any form), and leave the rest on Rav.ai. It will convert your raw footage into a professional-looking video in no time. You can always request multiple edits if you aren’t satisfied with the initial output.
That’s how easy it is to use Rav.ai to create YouTube videos. You can also use it to edit YouTube shorts, TikTok video ads, and more.
4: EaseUs Video Editor
If you are looking for a reliable YouTube video editor for pc, the EaseUS video editor is for you. Youtubers widely use it to create high-quality videos with ease. That’s because it offers a wide range of features that enable users to edit their videos quickly and efficiently.
Its intuitive interface makes it easy for beginners to get started creating stunning content in no time. In addition, its powerful features make it suitable for those who have more advanced video editing needs.
Furthermore, the software comes with built-in support that provides tutorials and tips on how to use the program effectively. This enables users to become proficient in using EaseUs Video Editor quickly and easily. With all these advantages combined, there’s no wonder why so many Youtubers use EaseUs Video Editor for their video editing needs.
5: Lightworks
The Lightworks video editor is a powerful and versatile editing software for editing YouTube videos. It has an easy-to-use user interface, with drag-and-drop features that make arranging and editing clips quickly simple.
It also offers advanced features such as color correction, audio mixing, 4K support, multi-cam support, video stabilization, chroma key, and more.
This helps YouTubers to create high-quality videos that look great on any device. Lightworks also includes built-in VFX tools such as Lens Flare and Motion Tracking, which allows content creators to add stunning special effects to their videos with minimal effort.
The software is available for both Windows and Mac users, making it accessible for all YouTubers regardless of their setup. With Lightworks, YouTubers can create videos that stand out and look professional with ease. The software is reasonably priced and offers a range of options to suit different budgets.
All in all, Lightworks video editor is an excellent choice for any content creator looking to take their channel to the next level.
Future of Video Editing – 2025 and Beyond
There is no doubt that video editing has come a long way in recent years. With the advent of powerful video editing software and apps, anyone can now create high-quality videos with ease. However, the future of video editing looks even more exciting, with artificial intelligence (AI) potential to revolutionize the process.
What is Artificial intelligence (AI) Video Editing?
Artificial intelligence (AI) video editing is a process of using algorithms to edit videos automatically. This can involve anything from simple things like color correction and cropping to more complex tasks like creating entire montages and adding special effects.
There are already a number of AI-powered video editing tools available, and they are only getting more sophisticated. However, they all share one common goal: to make the video editing process faster, easier, and more efficient.
What is the Best AI Video Editing Software?
There are a number of artificial intelligence video editing apps available on the market today. The best one for you depends on your needs and preferences. Here is a look at six of the most popular AI video editing apps:
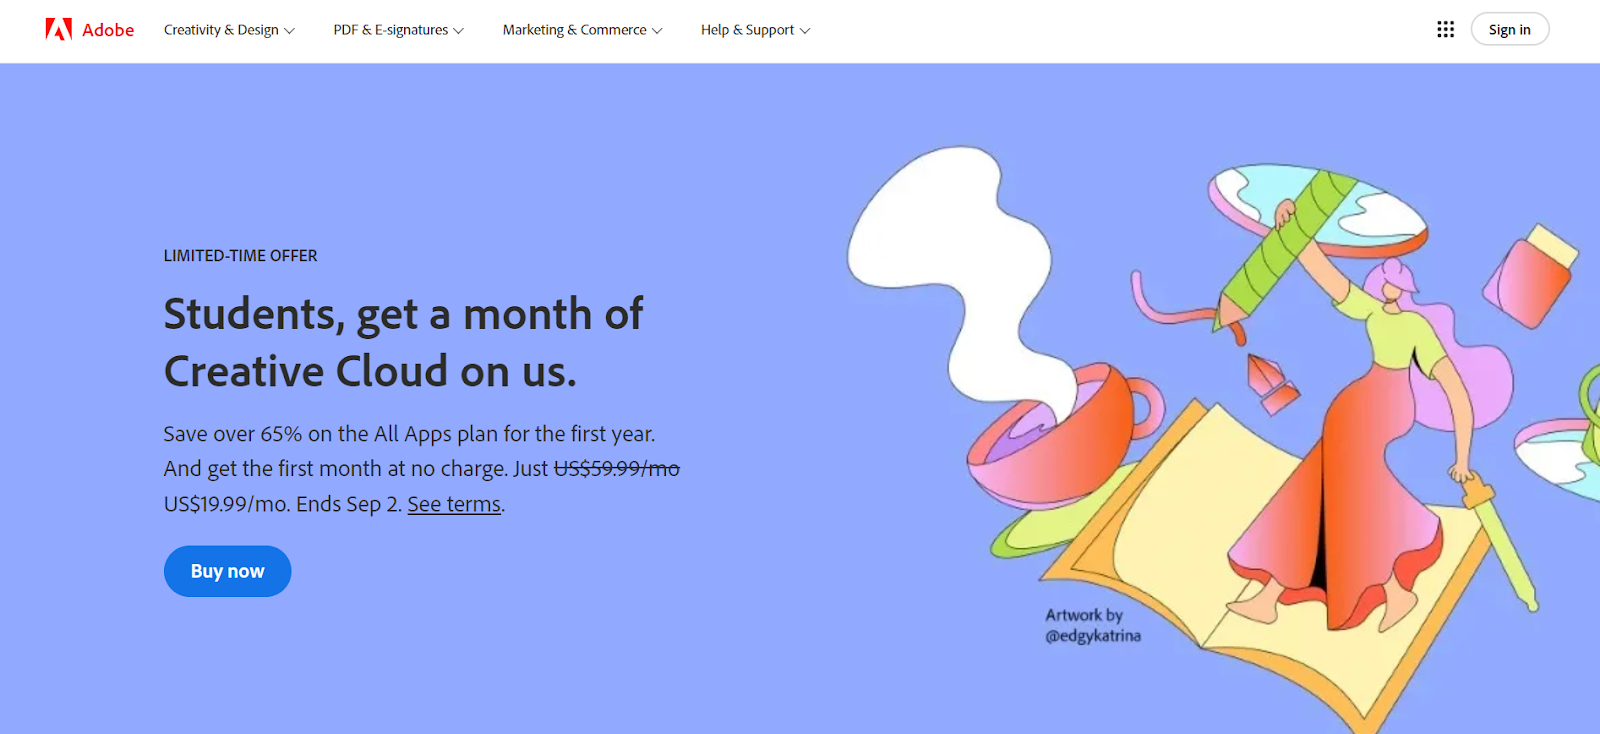
1: Adobe Premiere Rush CC
Adobe Premiere Rush CC is the second AI video editing app on our list. It allows you to quickly create and share videos with stunning effects. It is available for Windows and Mac, and it can be used to create videos for social media, websites, and other projects.
Adobe Premiere Rush CC is a subscription service, but there is a free trial available, so you can try it before you buy it.
2: Final Cut Pro X
It is a video editing software program developed by Apple, Inc. It was first released in 2011 as the successor to Final Cut Pro 7, and it is only available for macOS and iOS devices. It has been redesigned from the ground up, with a new interface that is optimized for Multicam editing and speed.
Final Cut Pro X has been generally well-received by critics, who have praised its design and new features. However, some users have complained about its high price tag and lack of support for older formats.
3: iMovie
iMovie is a consumer-grade AI video editing app. It is easy to use and offers a wide range of features. For example, it has a simple interface that makes it easy to use, even for beginners. Moreover, it includes a number of built-in templates and themes that can be used to give your videos a professional look.
iMovie also supports a wide range of third-party plugins and add-ons that can be used to customize your videos further. However, iMovie is only available for free on the App Store. It requires a Mac running macOS Mojave or later and an iOS device running iOS 12 or later.
4: Magisto
Magisto is an AI video editing app that makes it easy to create and share videos with stunning effects. It can be downloaded on iOS and Android devices. You can get the app for free, but there are several subscription plans available. After getting a subscription, you can create longer videos, use more special effects, and access other premium features.
5: WeVideo
WeVideo is a cloud-based AI video editing app. It is easy to use and offers a wide range of features. WeVideo has a free plan that allows you to create videos up to 1080p resolution. However, WeVideo has some cons as well. First, the free version of WeVideo is quite limited in terms of features and storage. Second, WeVideo can be quite challenging to use for beginners.
RAV.AI: Future of Video Editing
The Rav.AI is a great way to improve your videos without having to spend hours in front of a computer. It is the most powerful AI-based software that makes it easy to edit videos quickly and efficiently without sacrificing quality or creativity.
Here are some other benefits of using Rav.ai for video editing:
1: Speed:
Rav.ai is a fast and easy way to edit your videos. You can quickly make changes and improve your videos without having to spend hours in front of a computer.
2: Quality:
Rav.ai offers high-quality video editing tools that will help you create great videos that look professional.
3: Ease of Use:
Rav.ai is easy to use, so you can quickly learn how to use the tools and start editing your videos. It also allows you to upload raw content that has bloopers like umms, ahhs, silence, multiple cuts of the same script attempt, etc.
4: Option to Tag Edit Notes and Revise:
You can upload all the raw videos at once, and tag edit notes to specific points in the timeline for each video. There is also the option to submit revisions with rav.ai until you are satisfied with your project.
5: Flexibility:
Rav.ai offers flexible video editing tools that allow you to customize your videos however you want. You can add text, music, and other elements to create unique videos that stand out from the crowd.
6: Professional-Looking Videos:
It is also the only app where you can simply drop a link to an inspirational video, and the platform will edit your output video accordingly. Rav.AI includes all the tools you need to create professional-quality videos, including a wide range of filters, effects, and transitions.
|7: Affordable:
Rav.ai is an affordable video editing solution that won’t break the bank like some other video editing software on the market.
8: Supports Large Files:
The Rav.AI platform can handle huge file transfers easily and only takes a few seconds to upload them. You may add as many clips as you like to a project, and they will be saved to your phone or computer.
9: Direct Uploading Option
The best feature of Rav.AI is that you can link your social media account with it, and it will learn your style from your post history. Isn’t that cool? So, you won’t have to pay an agency to manage your social media, and it will run on auto-pilot.
What are the Benefits of Using AI Video Editing Apps?
When it comes to video editing, there’s no doubt that AI can be a huge help. After all, AI is all about making things easier and more efficient, and that’s exactly what video editing needs. The following are just a few ways in which AI can improve your video editing workflow:
1: Automated Transcription
One of the most tedious and time-consuming parts of video editing is transcribing footage. This is particularly true if you have a lot of audio to transcribe or if the audio quality is not great. However, with automated transcription tools powered by AI, this process can be completely automated. You just have to upload the audio or video files, and the AI will take care of the rest.
2: Automated Color Correction
If you’ve ever tried to color-correct a video, you know how time-consuming and difficult it can be. However, with AI-powered color correction tools, this process can be automated. The AI will analyze your footage and automatically correct any colors that are off.
3: Automated Scene Detection
Scene detection is another task that can be very time-consuming. However, with the help of AI, scene detection can be automated. The AI will analyze your footage and detect each scene automatically. This can save a lot of time and hassle when editing your videos.
4: Automated Video Editing
There are a few AI-powered video editing tools on the market that can automate the entire video editing process. All you need to do is upload your footage, and the AI will take care of the rest. This can save a lot of time and hassle when editing your videos.
5: Better Search Functions
One of the best things about AI video editing tools is that they usually come with better search functions. This means that you can quickly and easily find the clips that you’re looking for without having to go through hours of footage. This can save a lot of time and hassle when editing your videos.
Overall, there are a lot of benefits to using AI video editing tools. If you’re looking to save time and hassle when editing your videos, then these tools are definitely worth considering.
In short, by using Rav.ai, you can save time and money while still creating great-looking videos. So why not give it a try? You will be surprised at how easy and affordable it is to edit your videos with Rav.ai.
Final Thoughts!
Learning video editing opens up many possibilities, whether you’re creating content for YouTube, social media, or gaming. With the right tools and knowledge, you can turn your ideas into engaging videos. Whether you’re starting with low-cost software or using automated solutions like Rav.ai, there are options for everyone, even if your computer isn’t the latest model.
As you explore video editing, remember that practice makes perfect. The more you edit, the better you’ll understand the tools and techniques that work best for you.
From basic cuts to advanced effects, each step will bring you closer to mastering video editing. Whether you’re a beginner or looking to refine your skills, the key is to stay curious, keep experimenting, and use the resources available to you.
With the right software and a willingness to learn, anyone can create high-quality videos that stand out. The future of video editing is bright, and with dedication, you can achieve great things in this field.